How to Create Order History Reports on RTA
This guide will walk you through the steps to creating different types of Order History Reports on RTA. These can now include images in a pdf format that was developed to be shared easily with distributors or in an excel format that allows you to create filters to search for specific information easily.
Go to readytoactivate.com
1. Click "Retail" or "On-Premise" for the Channel
On the RTA Home Screen, start with selecting the channel in the top right corner.
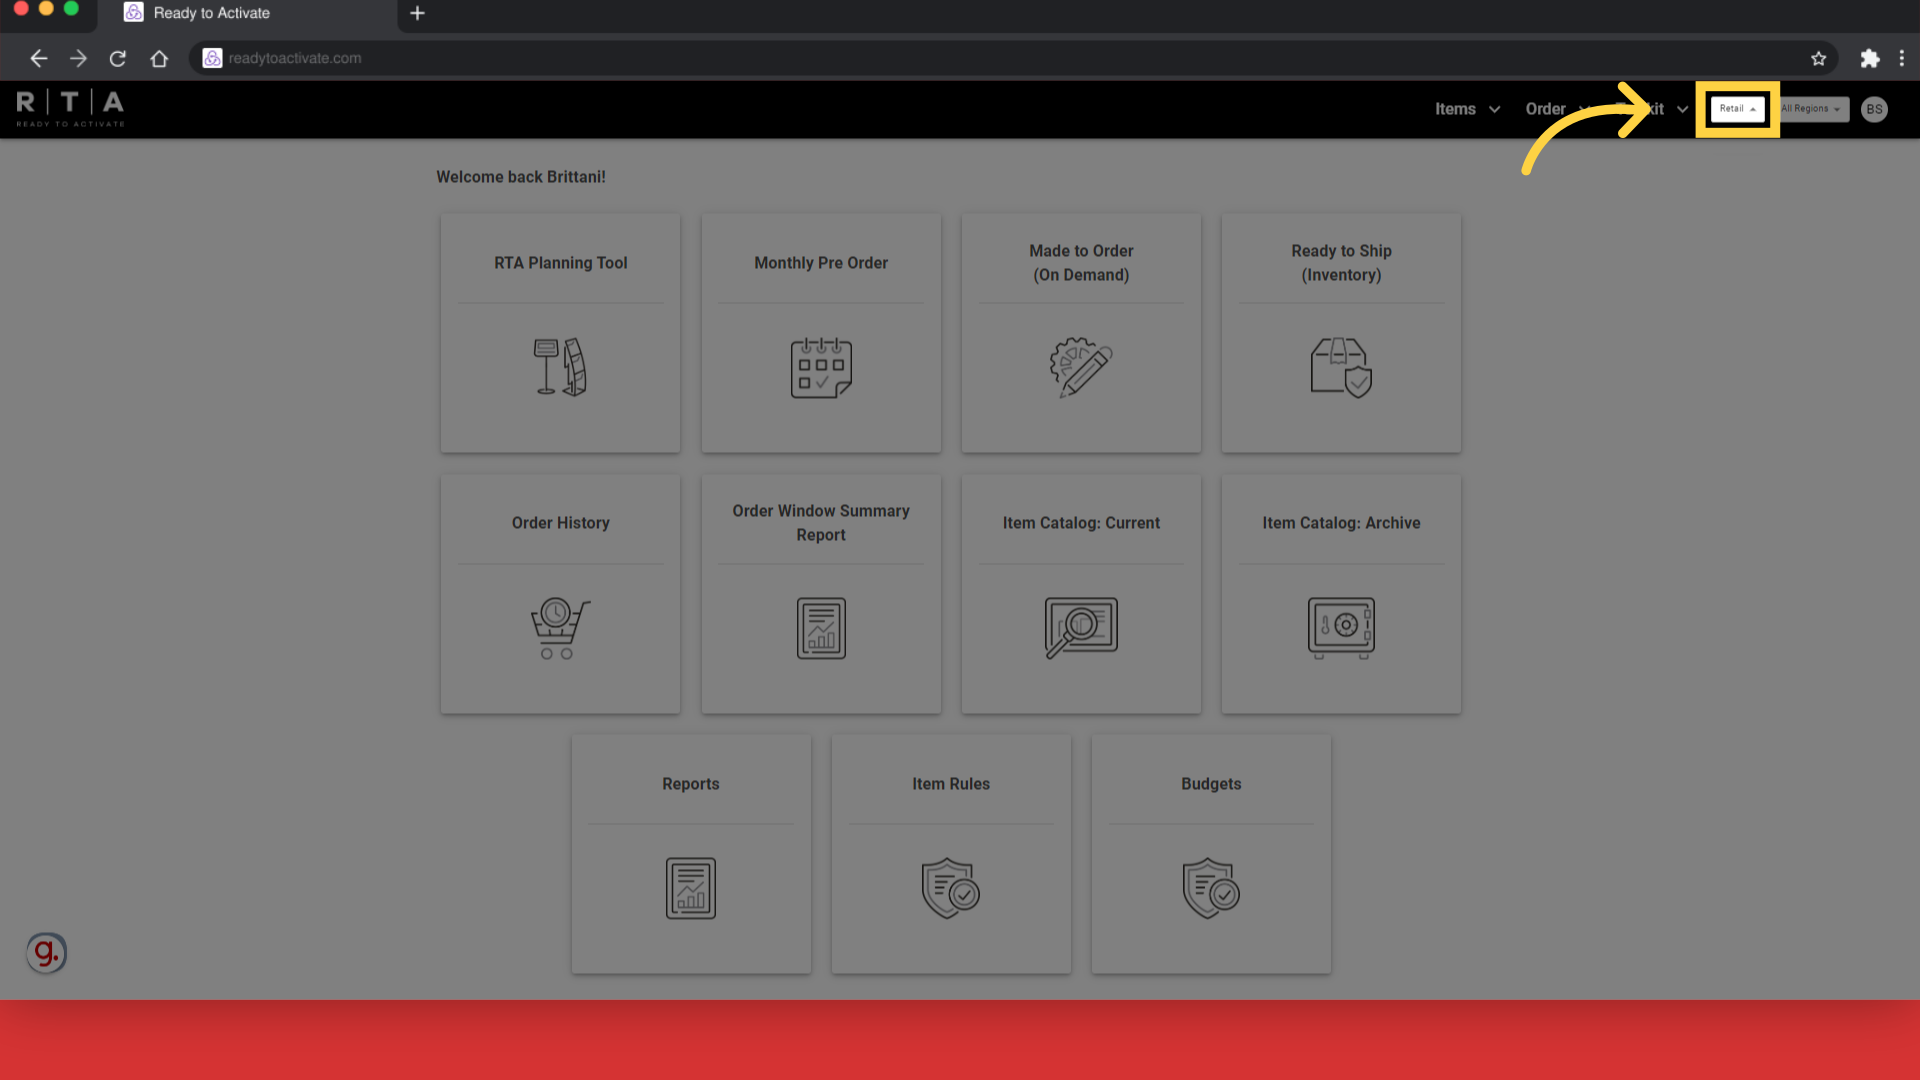
2. Click "Retail"
For this Report, we will choose "Retail".

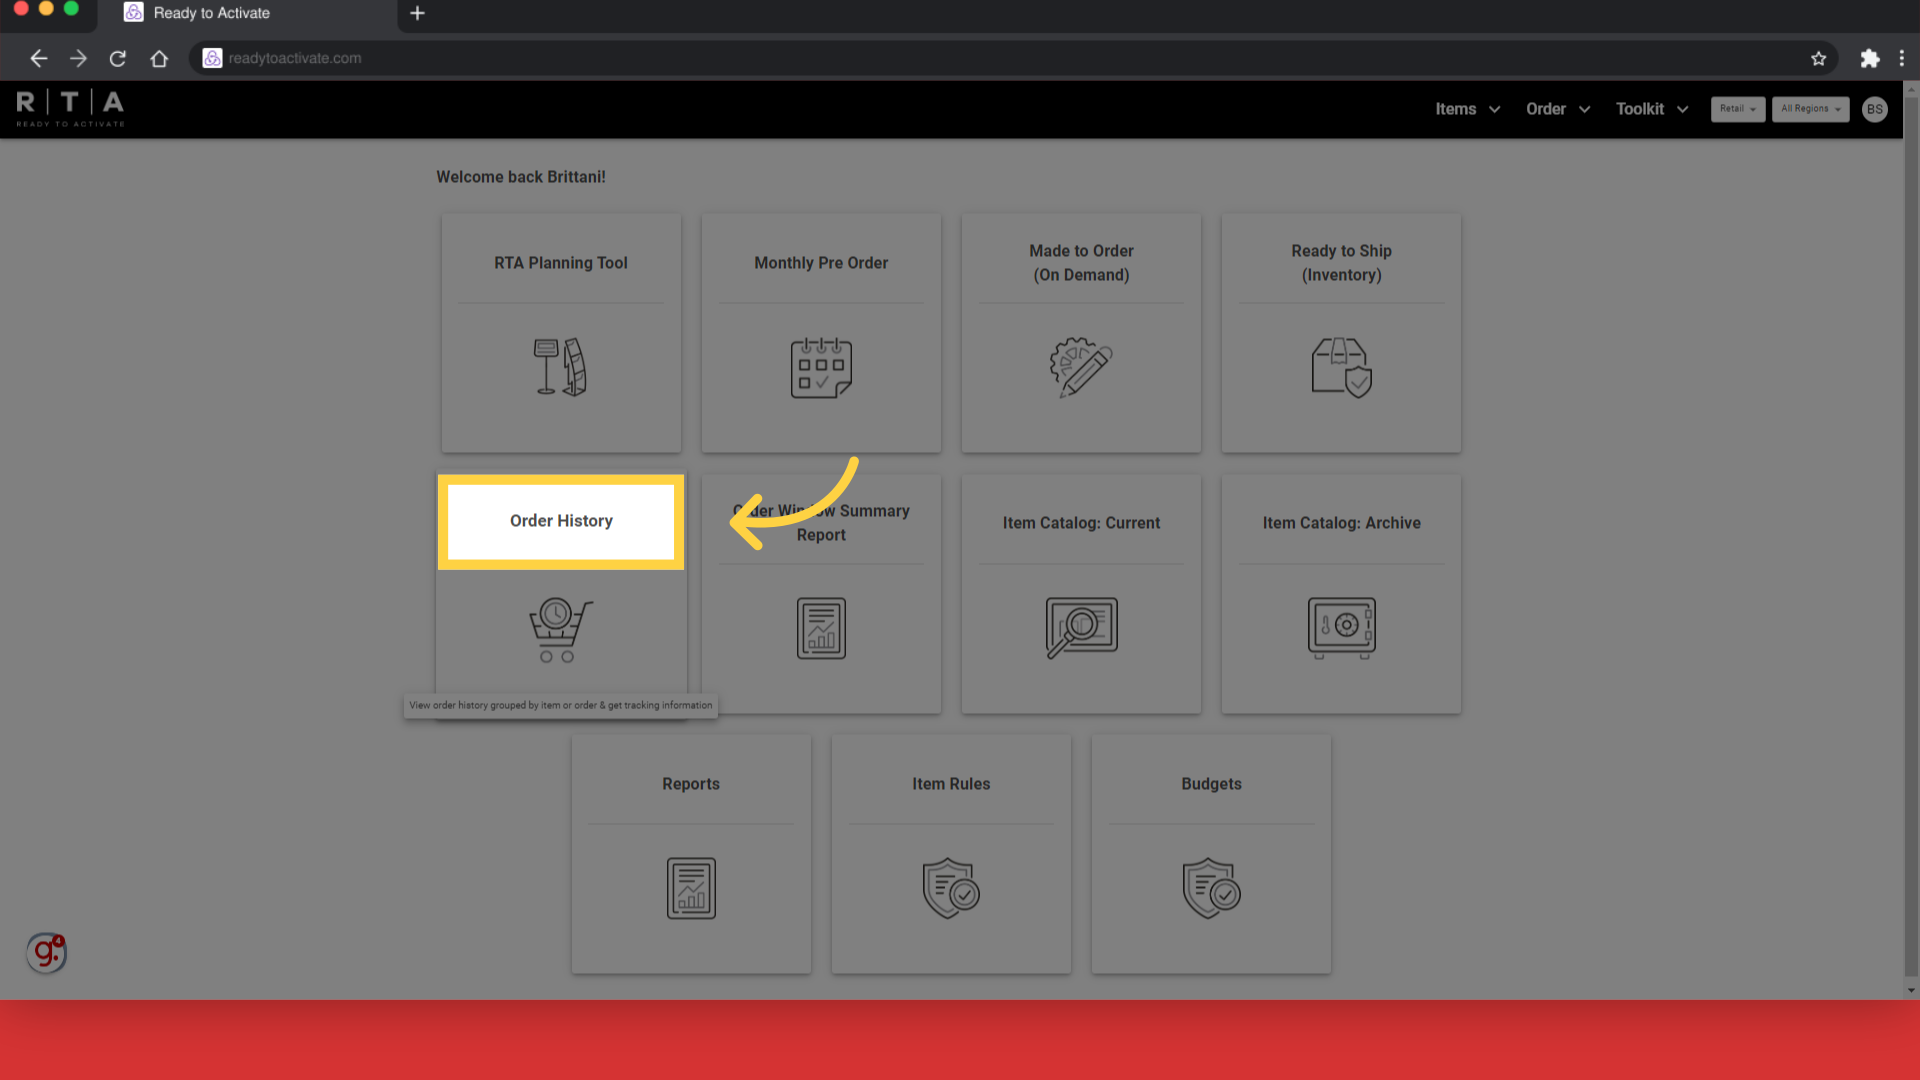
3. Click "Order History"
On the Home Screen, select Order History.
4. Select dates that Orders were Submitted
With the filters on the left, you can select the parameters for this Report. Filters often start with the date that the orders were submitted so we'll start here for this report.
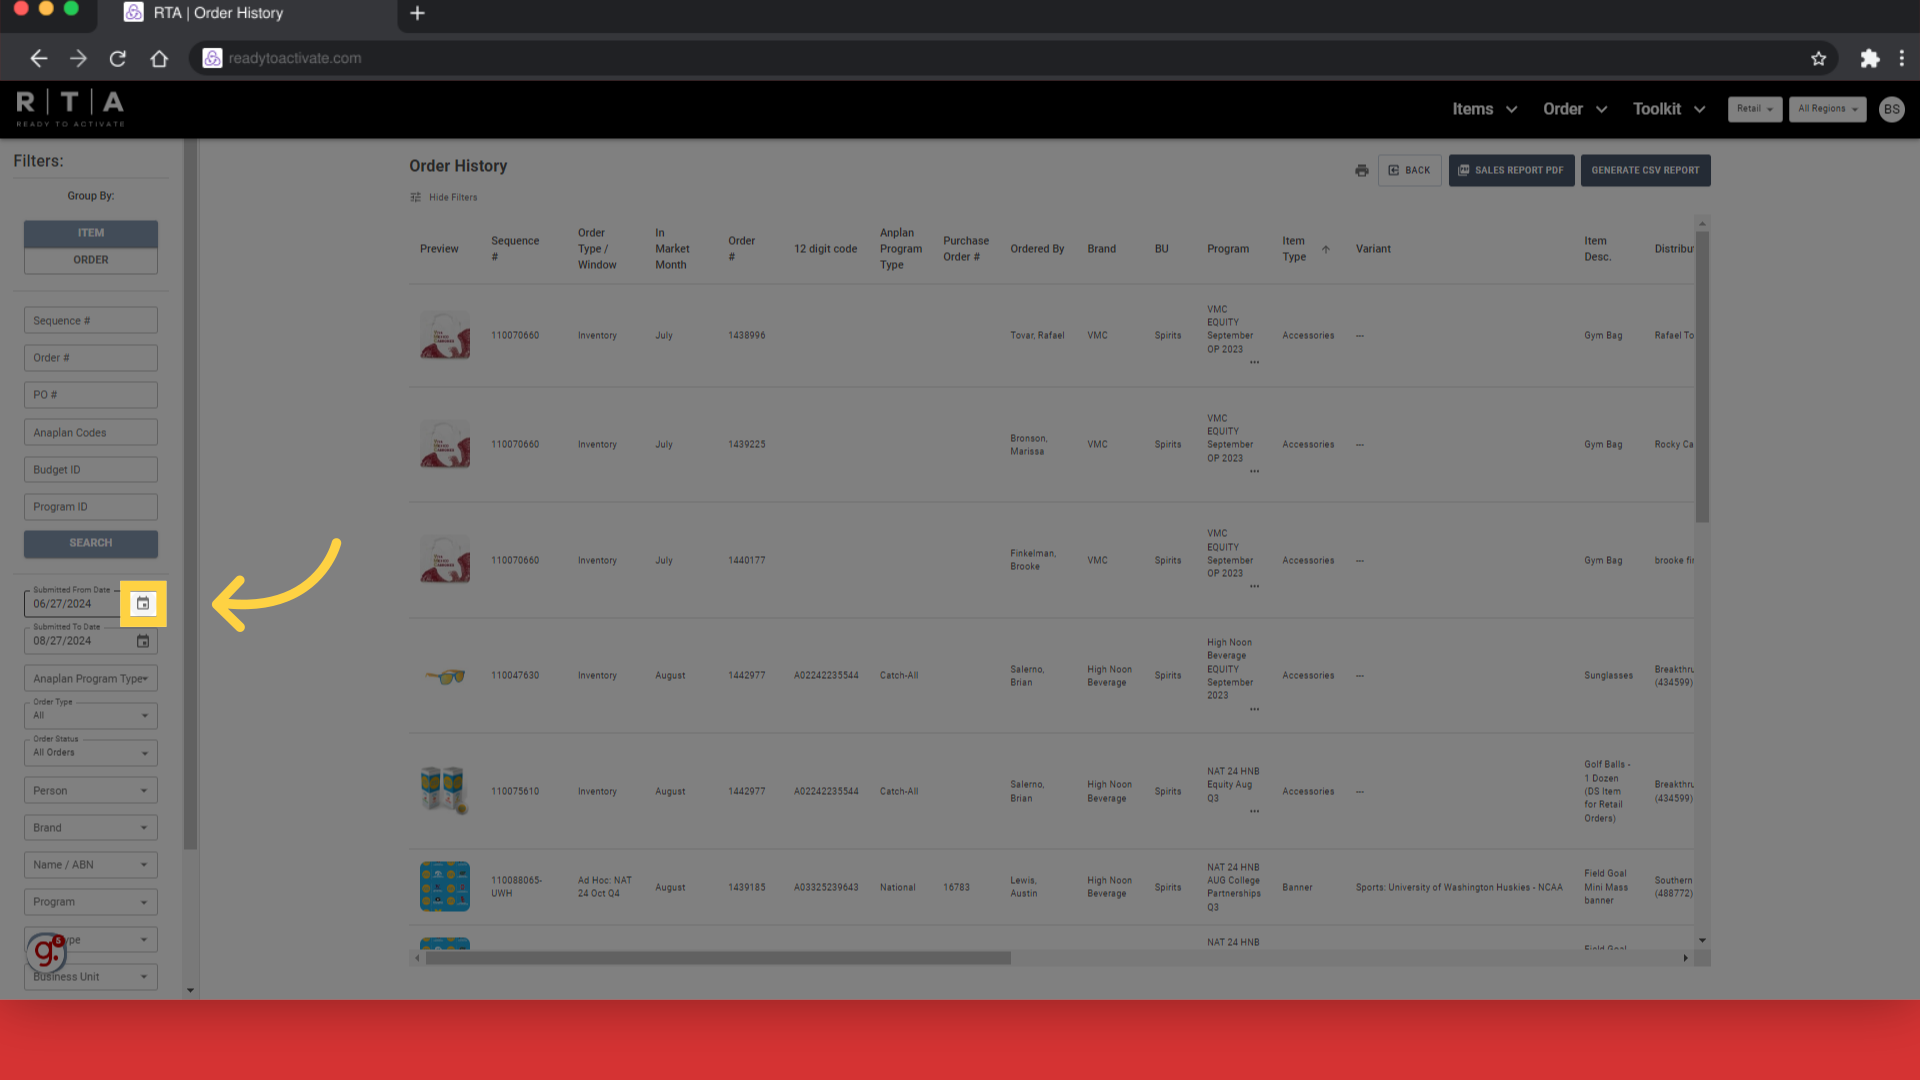
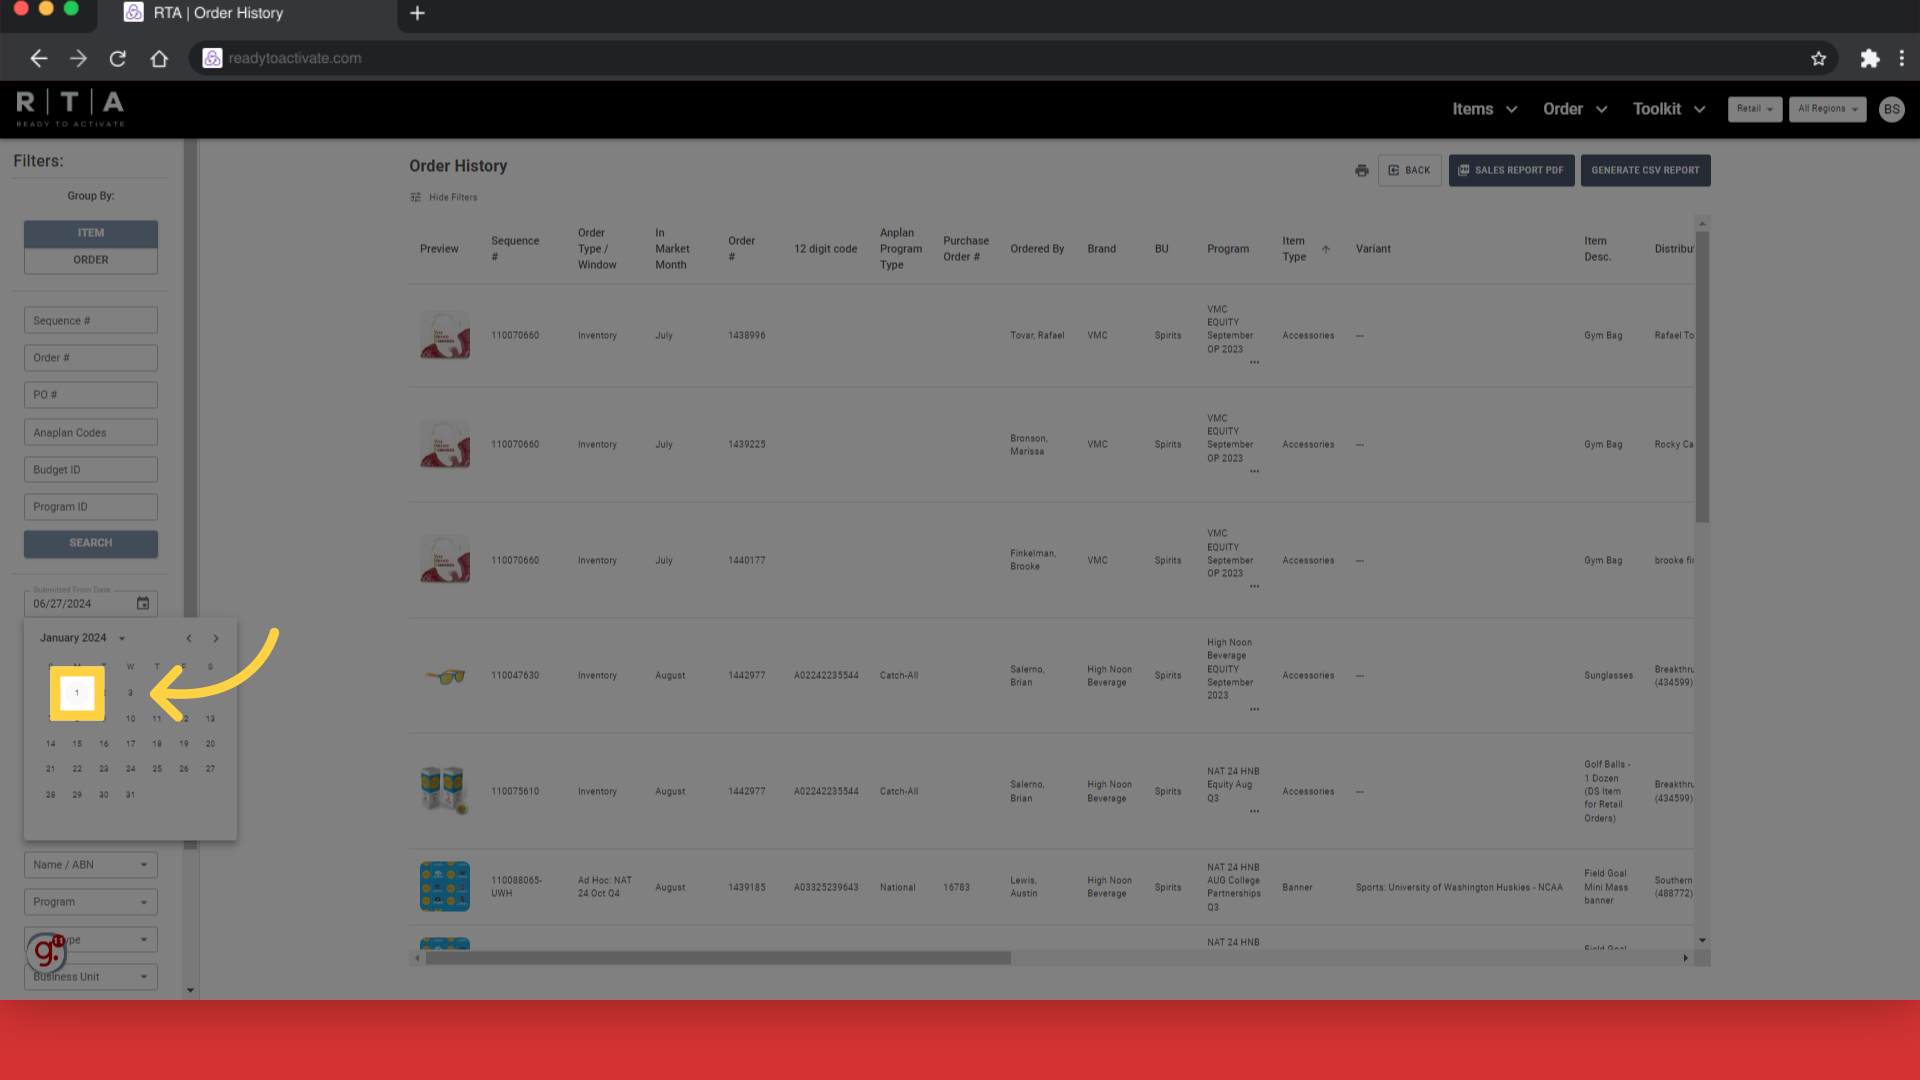
5. Scroll through the calendar using the arrows
Scroll through the calendar to select the date parameters.
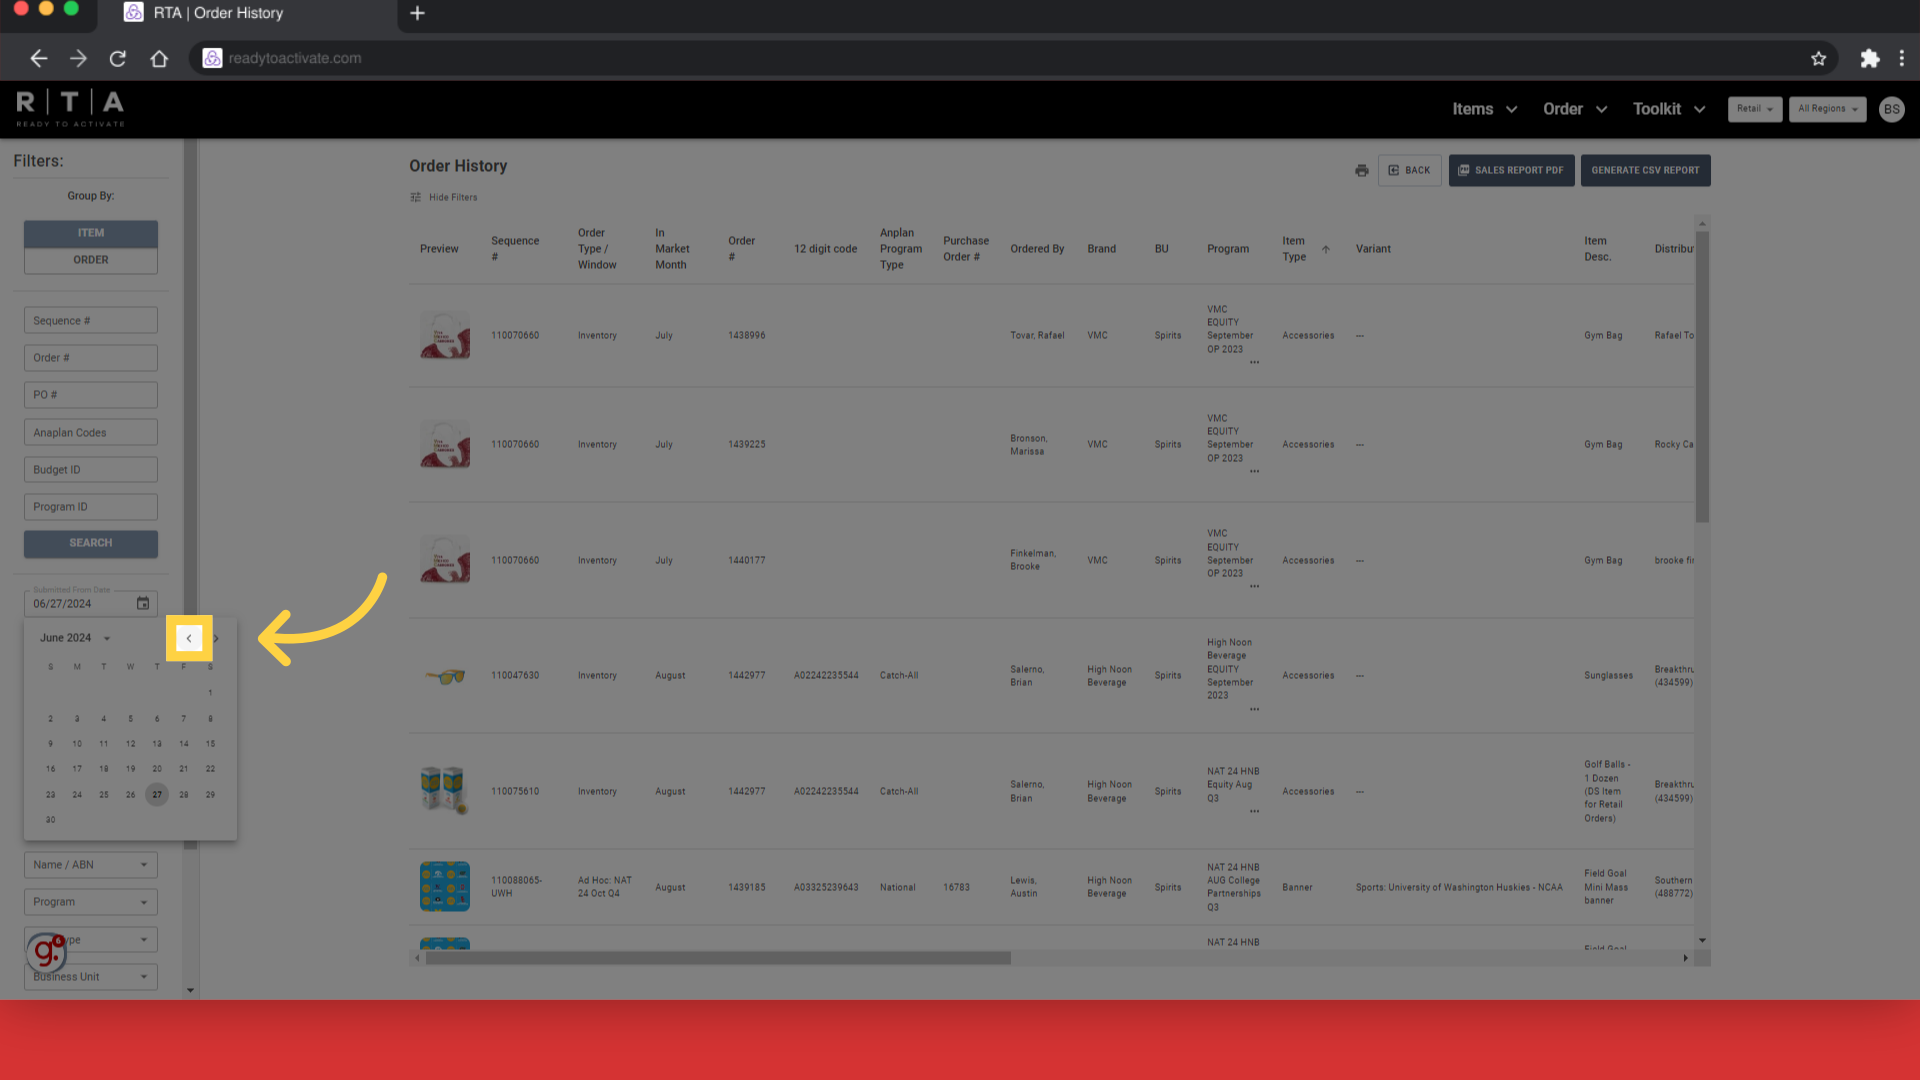
6. Click "1"
We scrolled to January 1, 2024 and will be pulling in all orders placed between this date and today.
7. Click "Filters:Group By:ITEMORDERSequence #Sequence #Order #Order #PO #PO #Anaplan CodesAnaplan CodesBudget IDBudget IDProgram IDProgram IDSEARCHSubmitted From DateSubmitted From DateSubmitted To..."
Confirm the Order Submission End date, and navigate through the filters to refine the information needed.
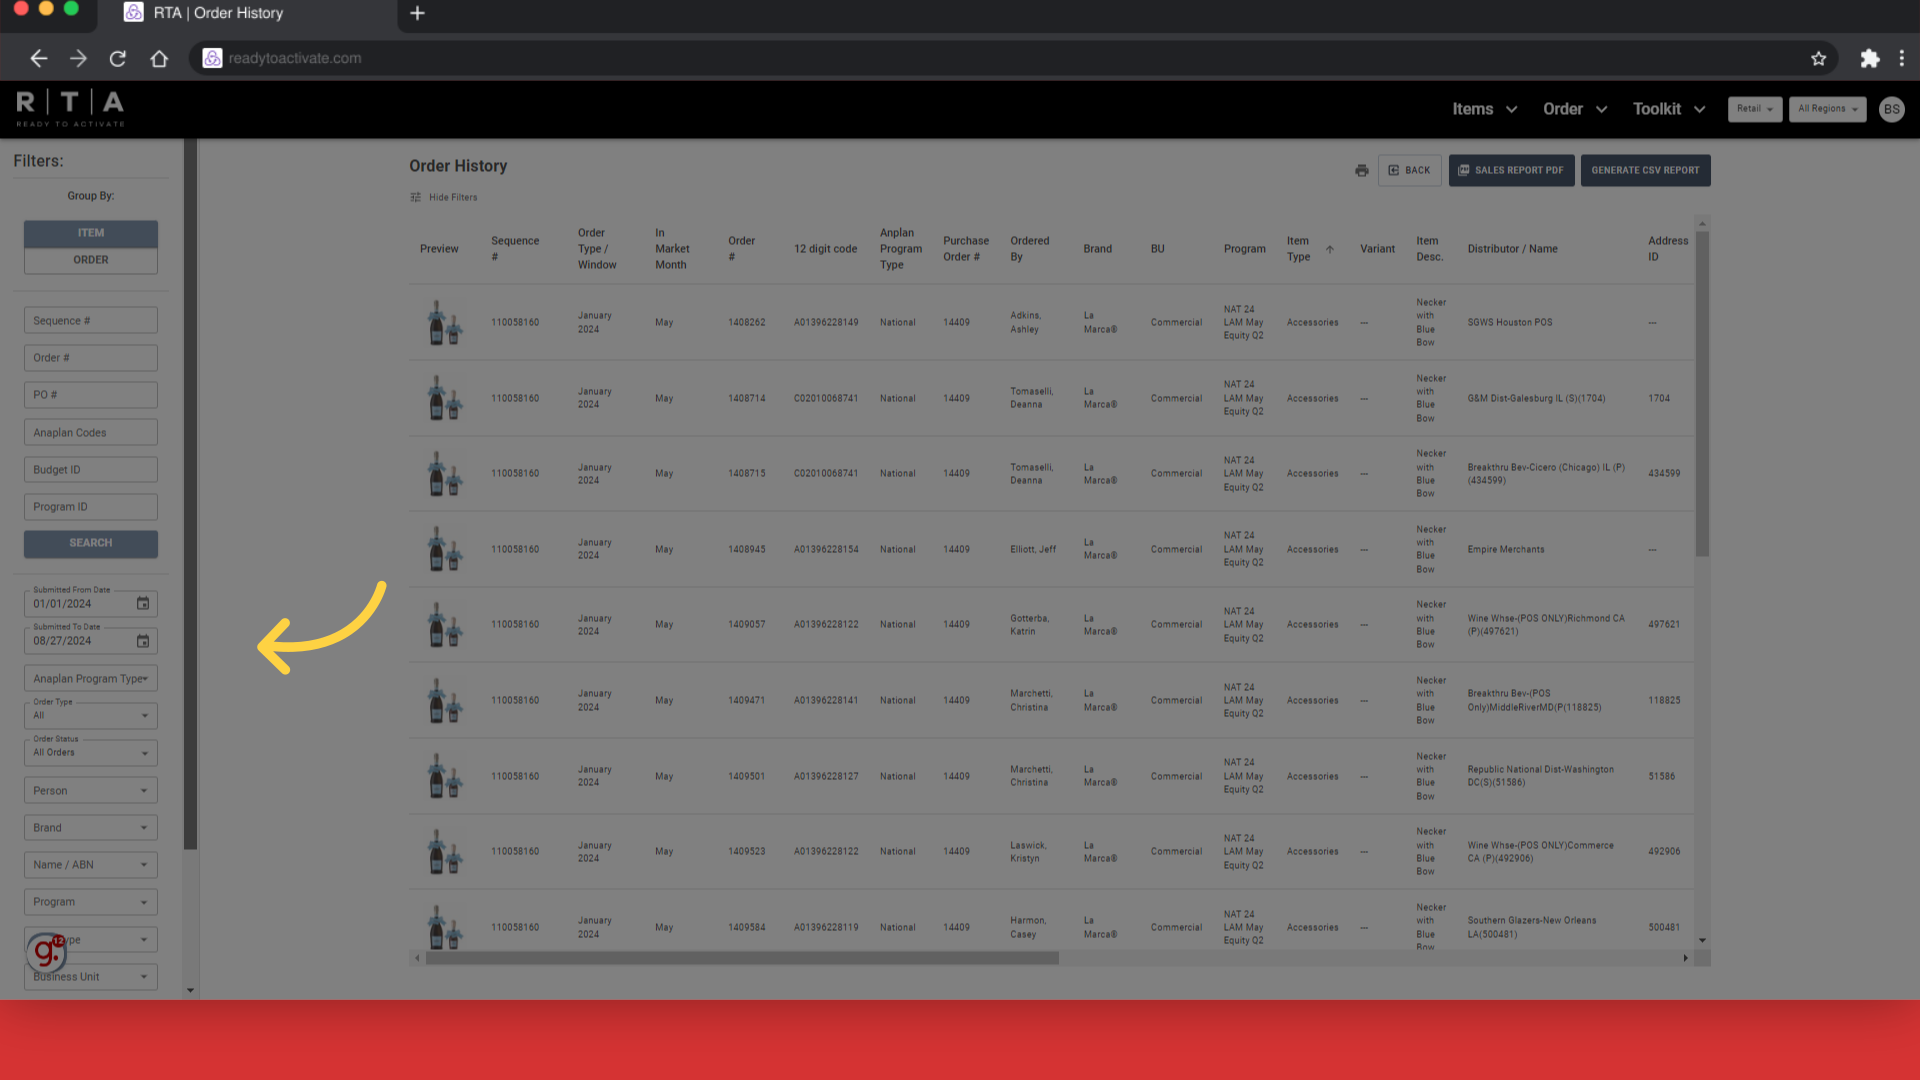
8. Click "Brand"
If you choose to run a report for only one brand, select it in the filters here.

9. Type in Brand Name
Type in the brand name or the 3 digit code for the brand here.
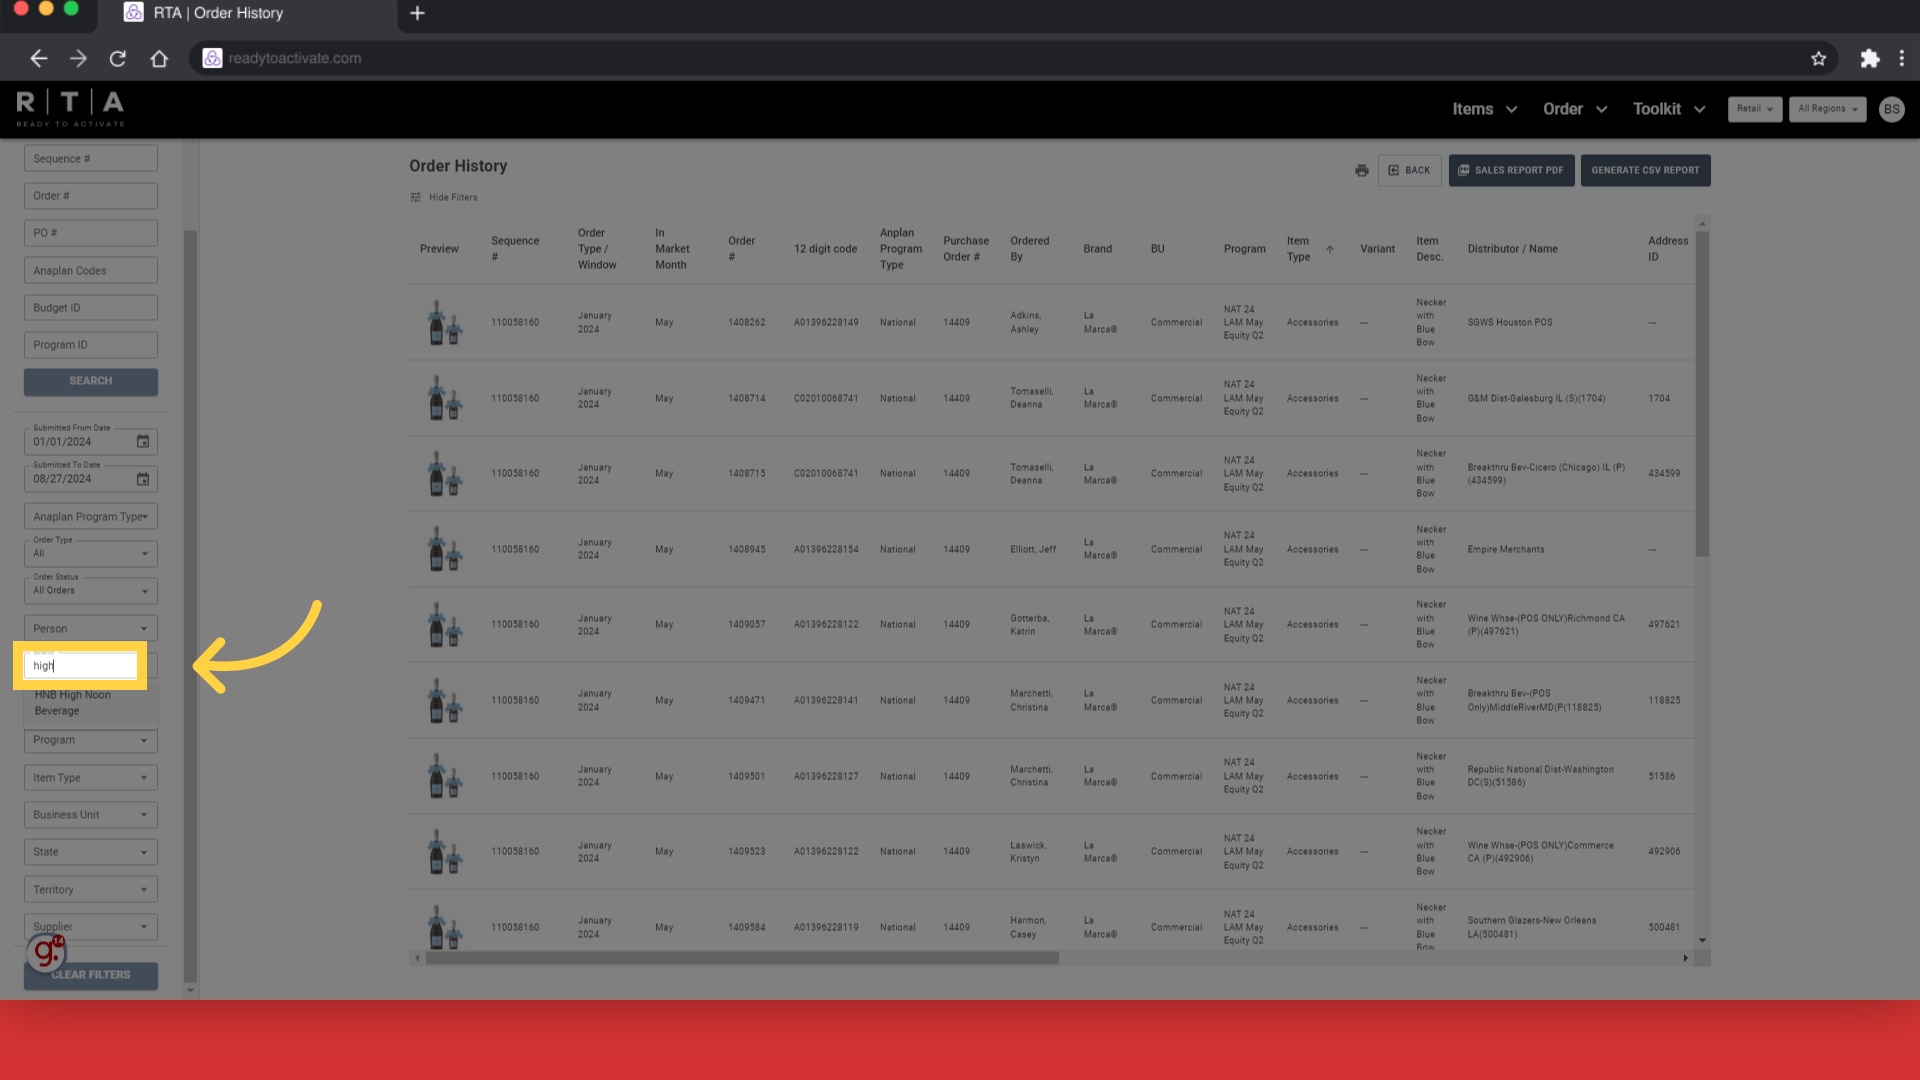
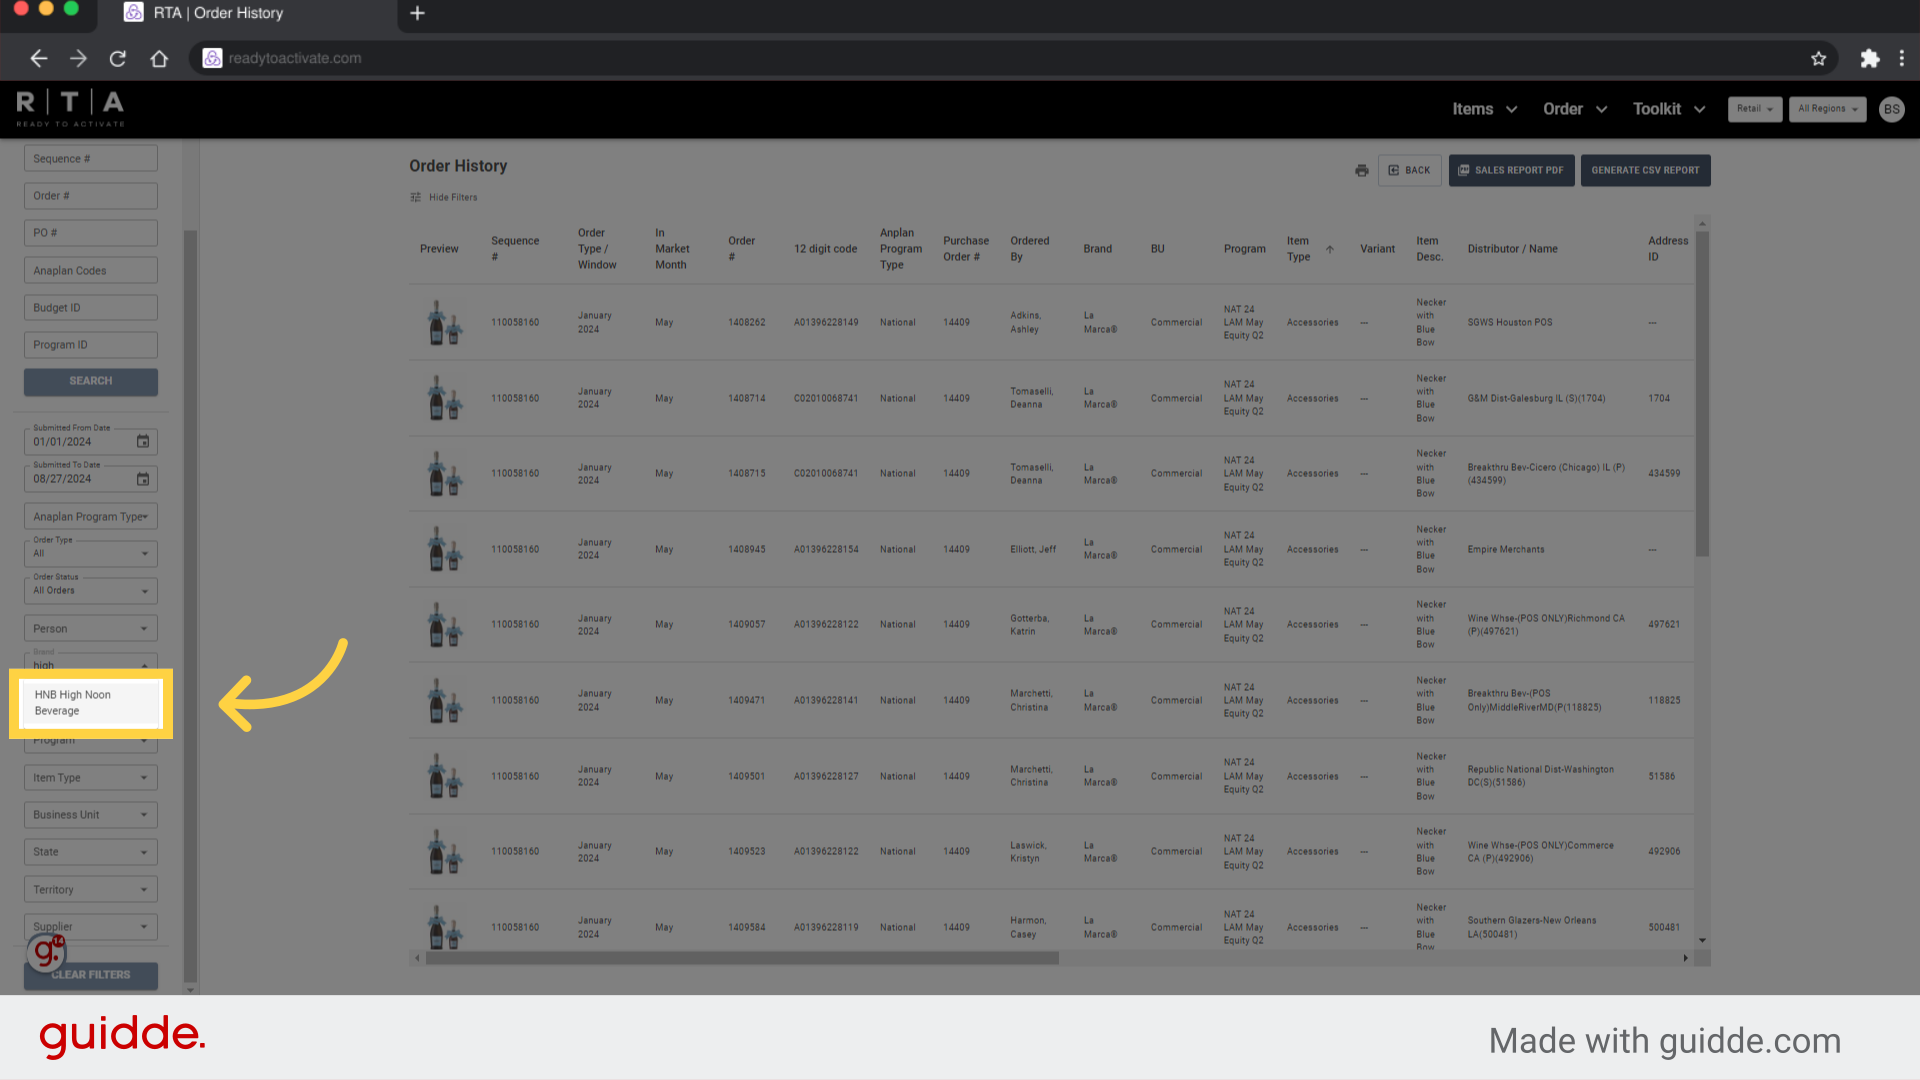
10. Click "HNB High Noon Beverage"
Here we are selecting "HNB High Noon Beverage"
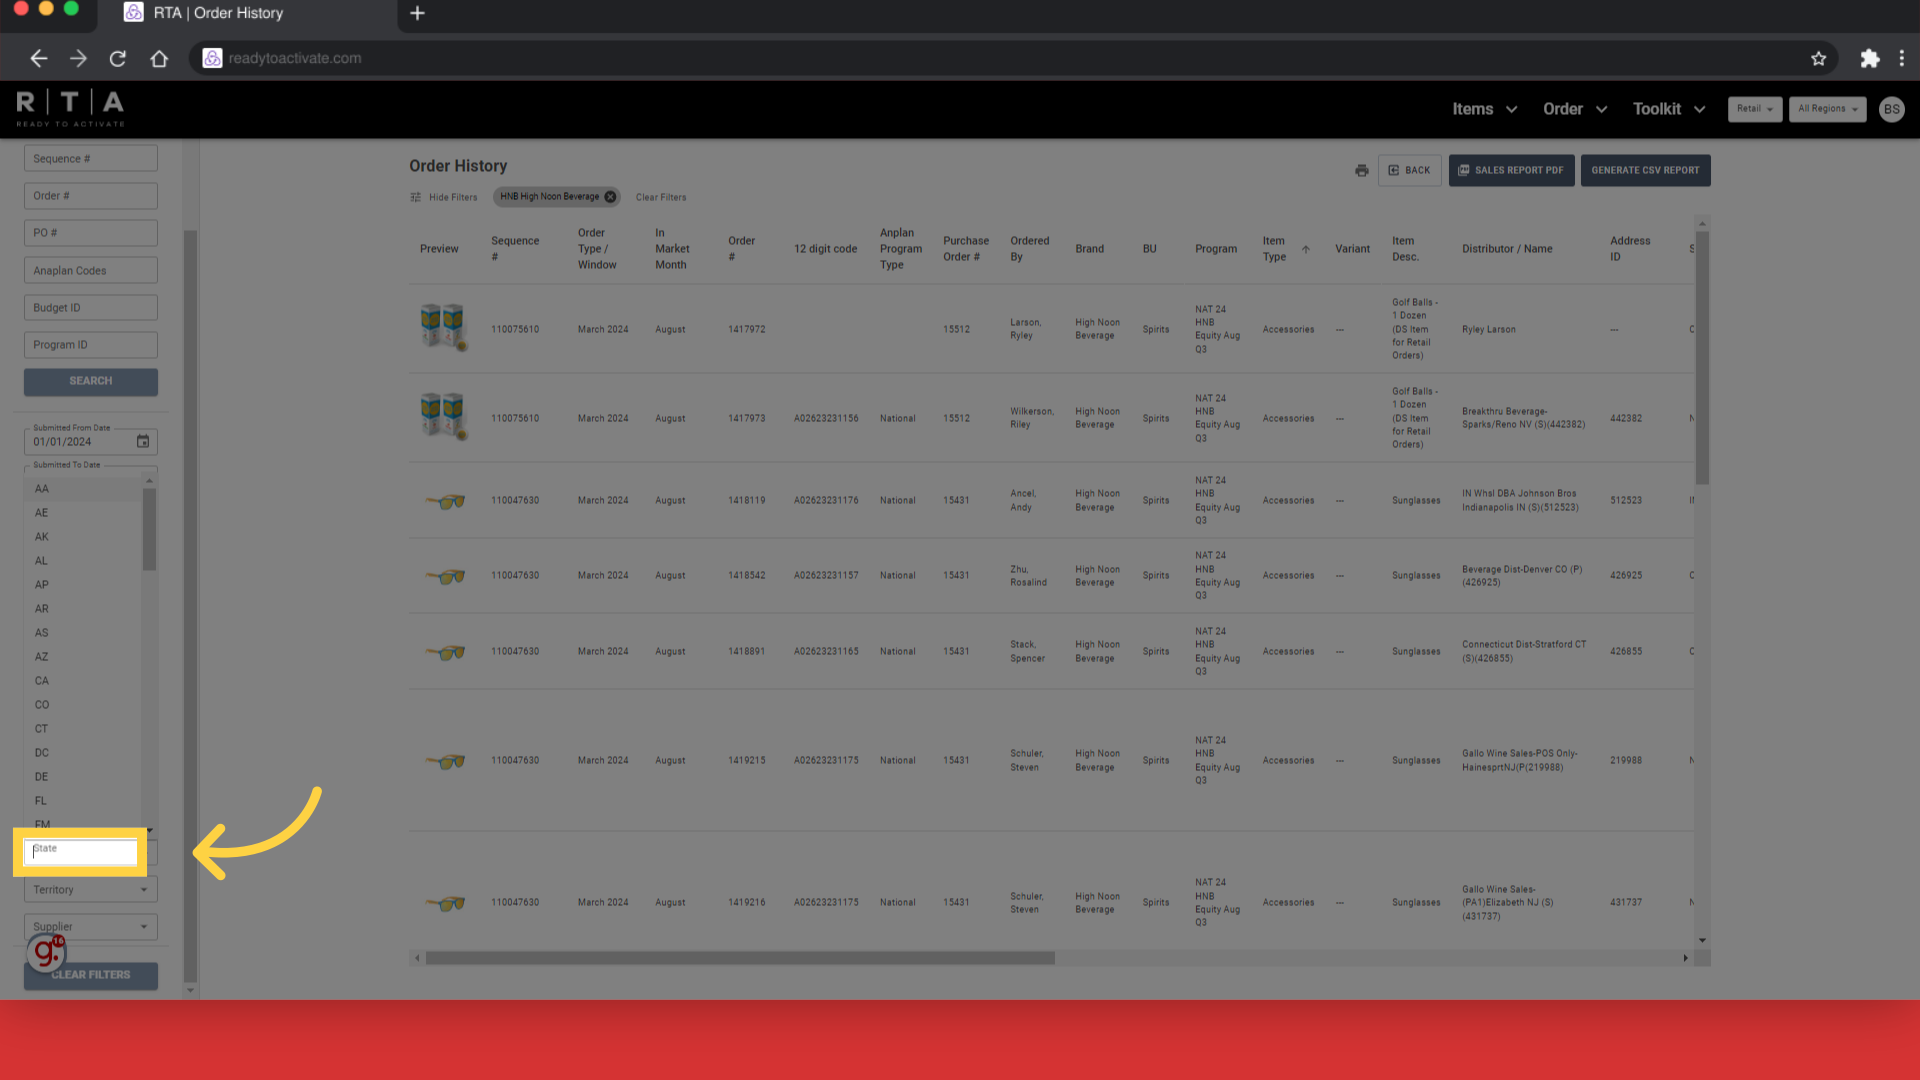
11. Click "State"
For this Report, we want to see everything ordered for High Noon in the State of Idaho so we go to the State filter.
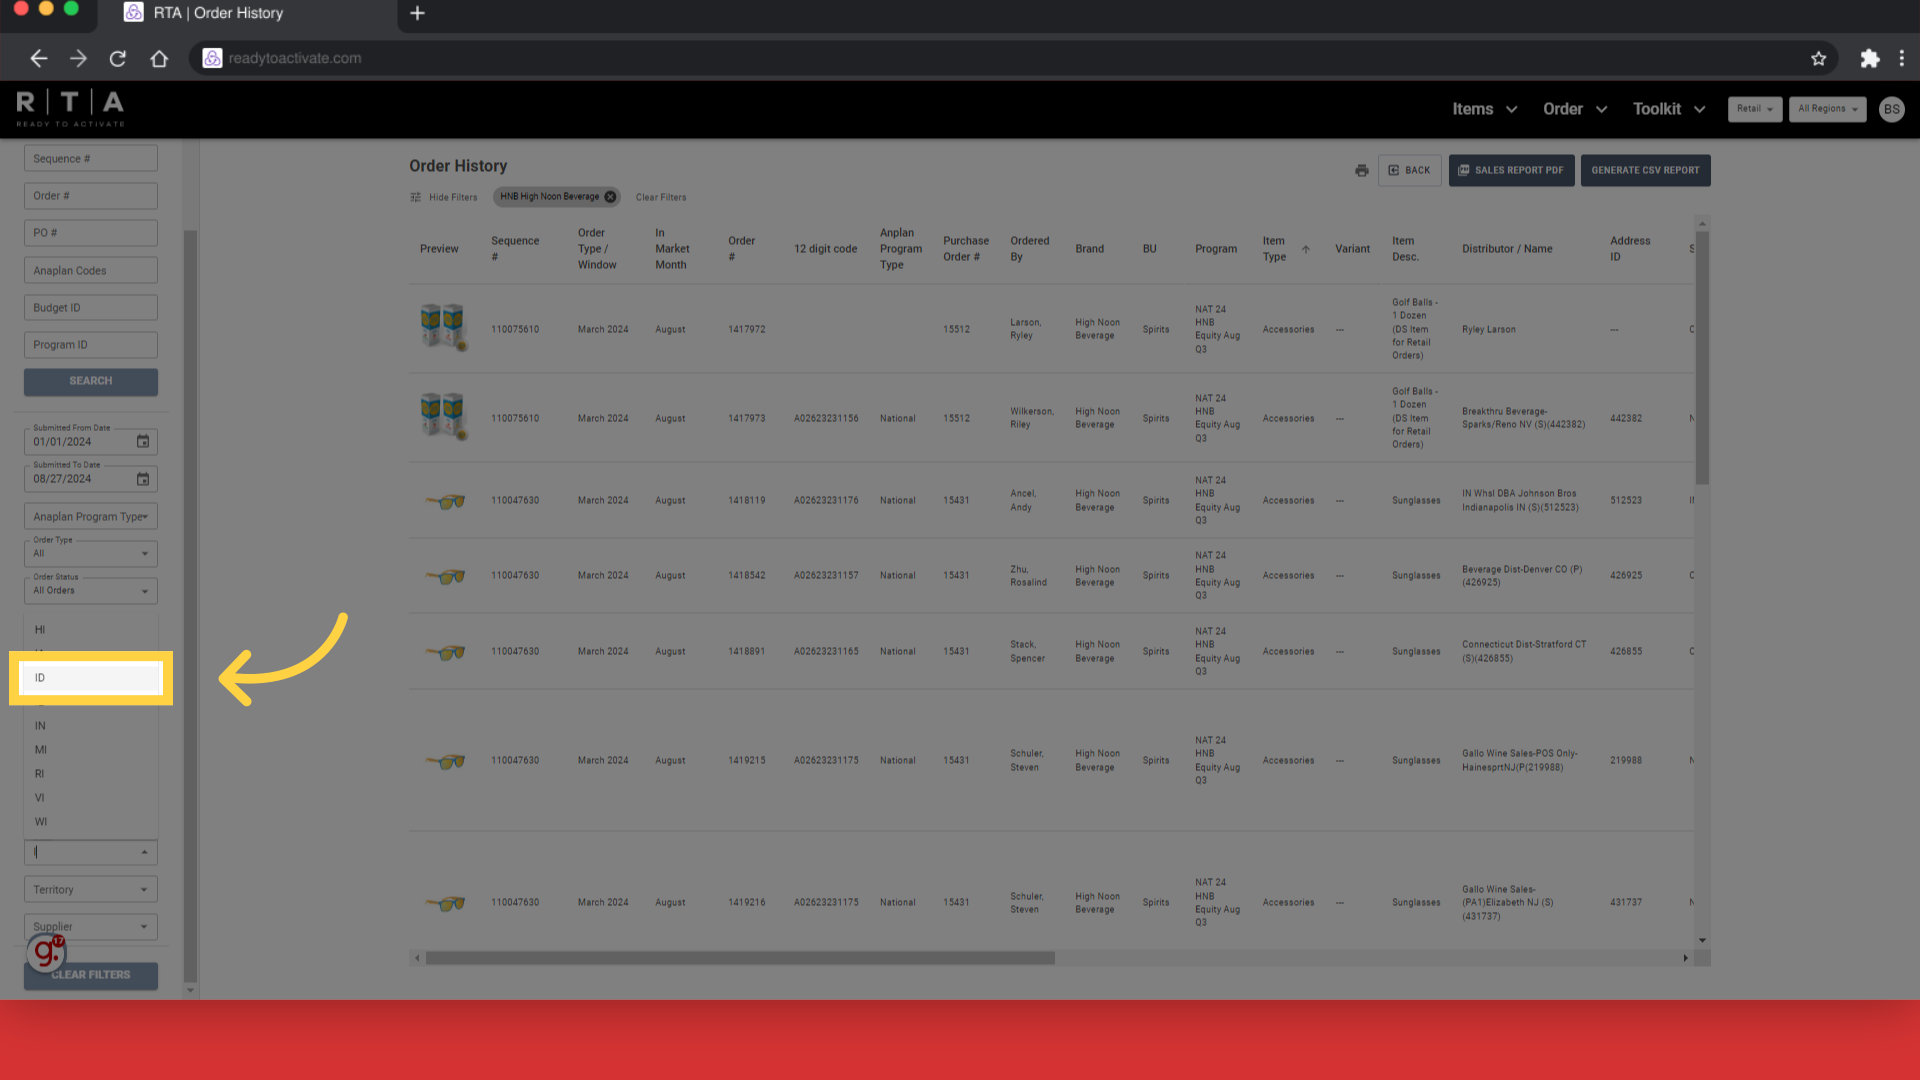
12. Click "ID"
Enter the abbreviation for the state which is "ID" for this example.
13. Use the grey arrows next to the column headers to sort the data in order
All data populates the report, and the grey arrows at the top of the columns can be used to sort the data.

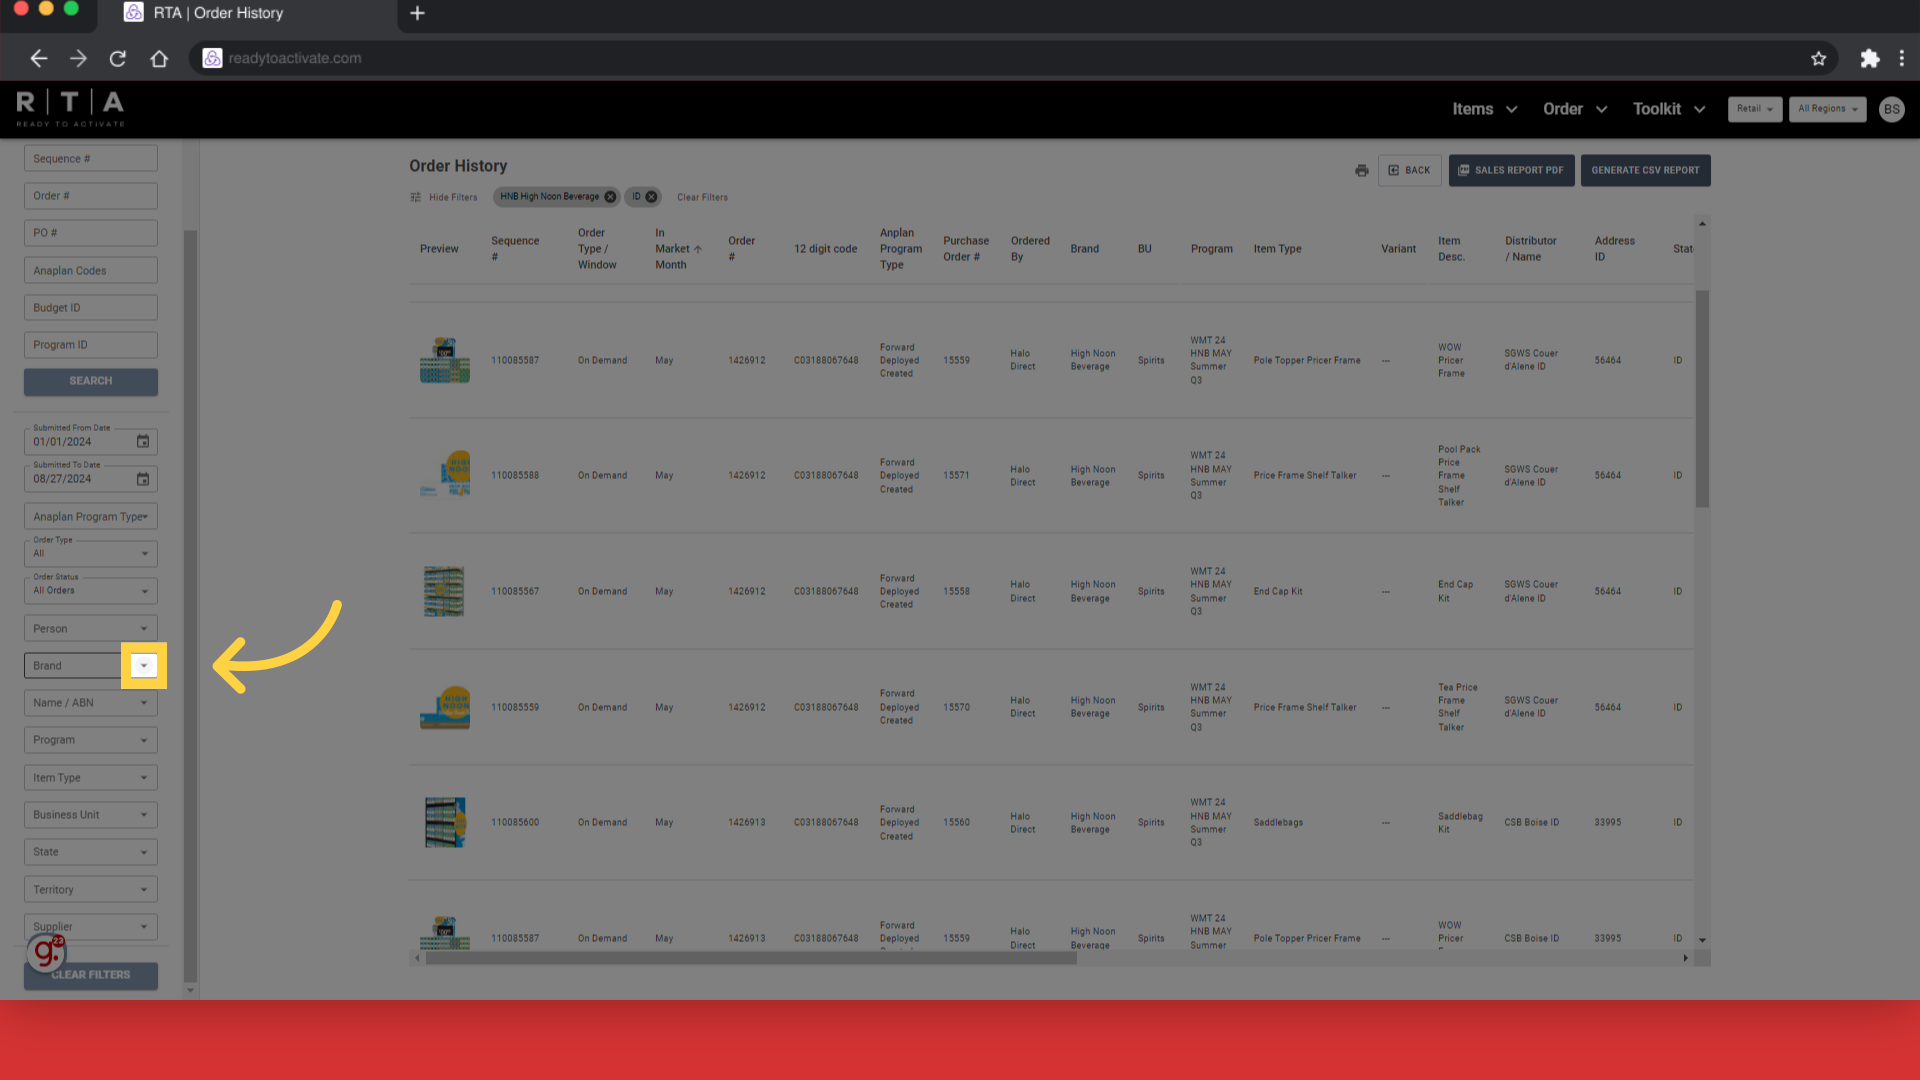
14. Use additional filters on the left as needed
For additional filters, go to the left and select the information to filter.
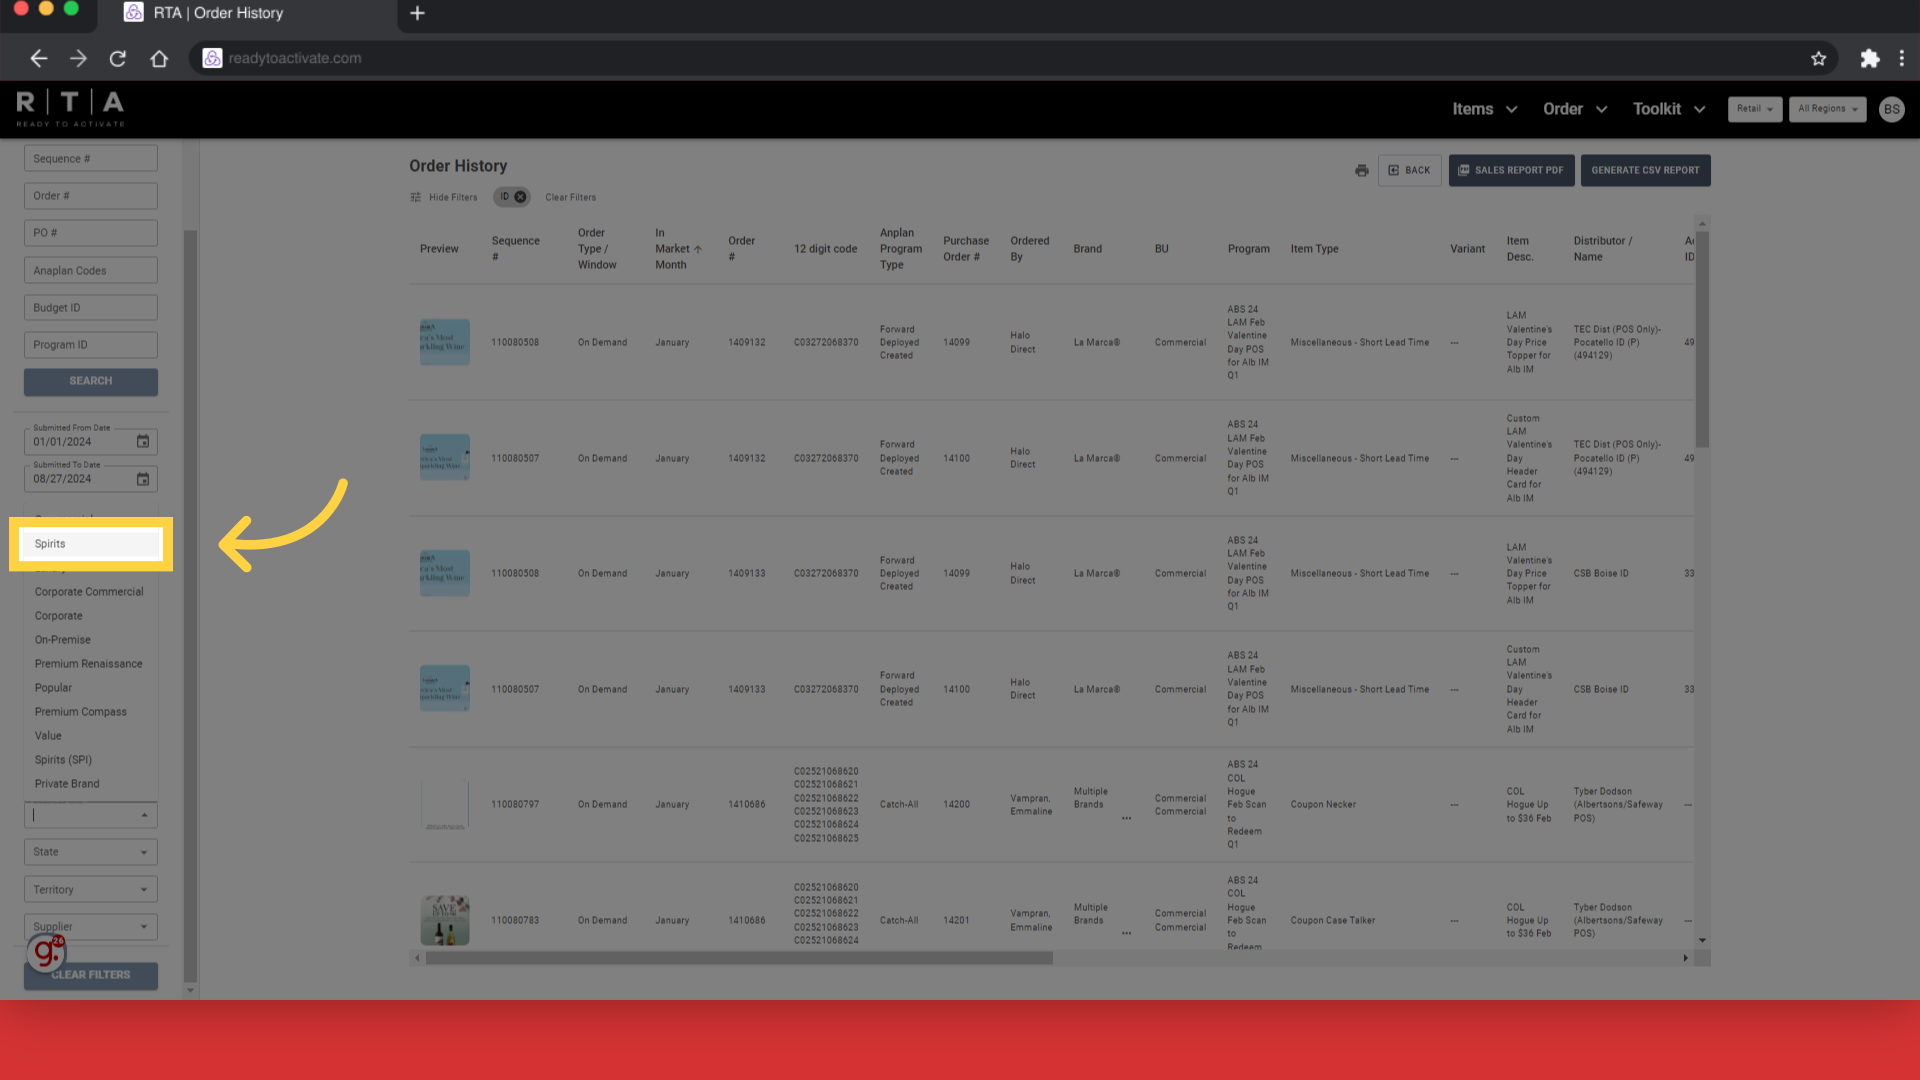
15. Click "Spirits"
To run a report for only a specific business unit, you can also select this in the filters. Here we will select Spirits.
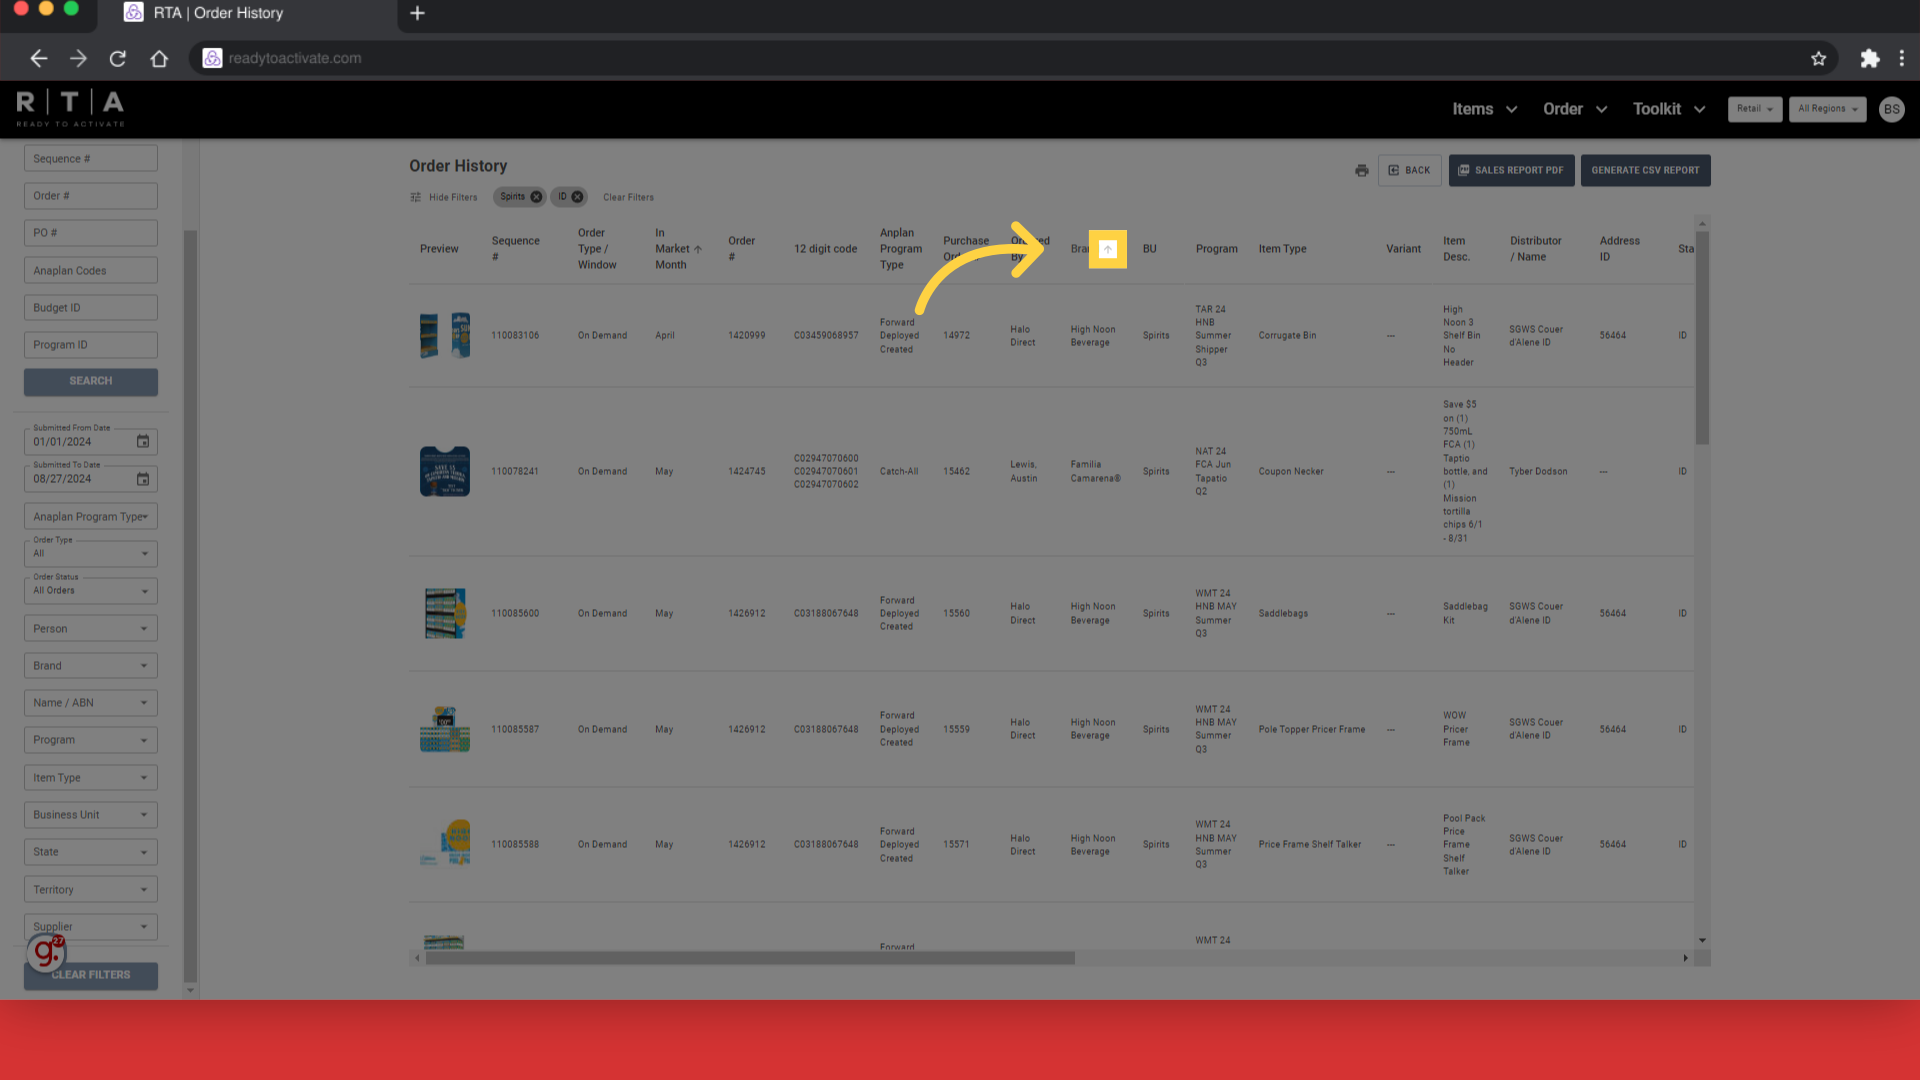
16. Hover by the column names to see the grey arrows and click on the arrow to sort
Using the grey arrows at the top of the columns of the report, we will sort this report by brand so that each brand is grouped together for the report.
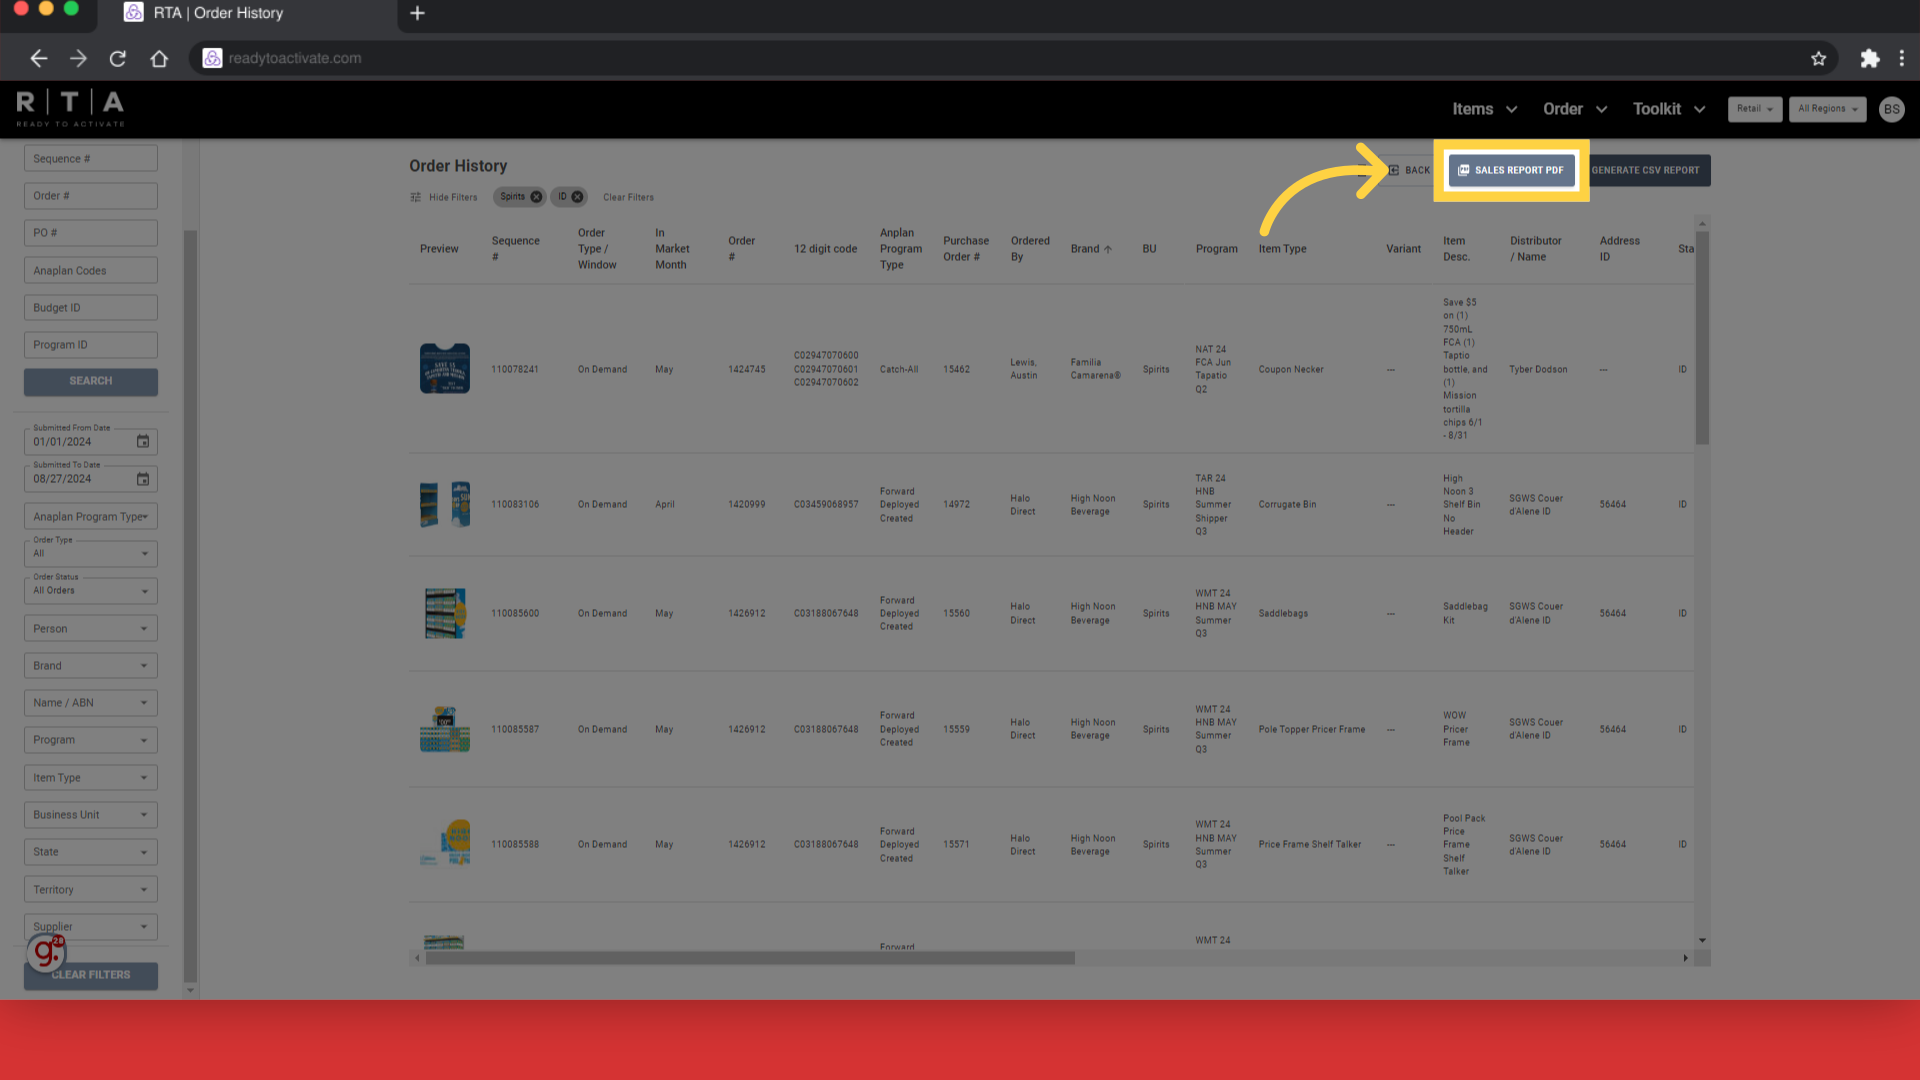
17. Click "Sales Report PDF"
Once the report has the information needed and you have sorted it as you would like to see it, click on "Sales Report PDF"
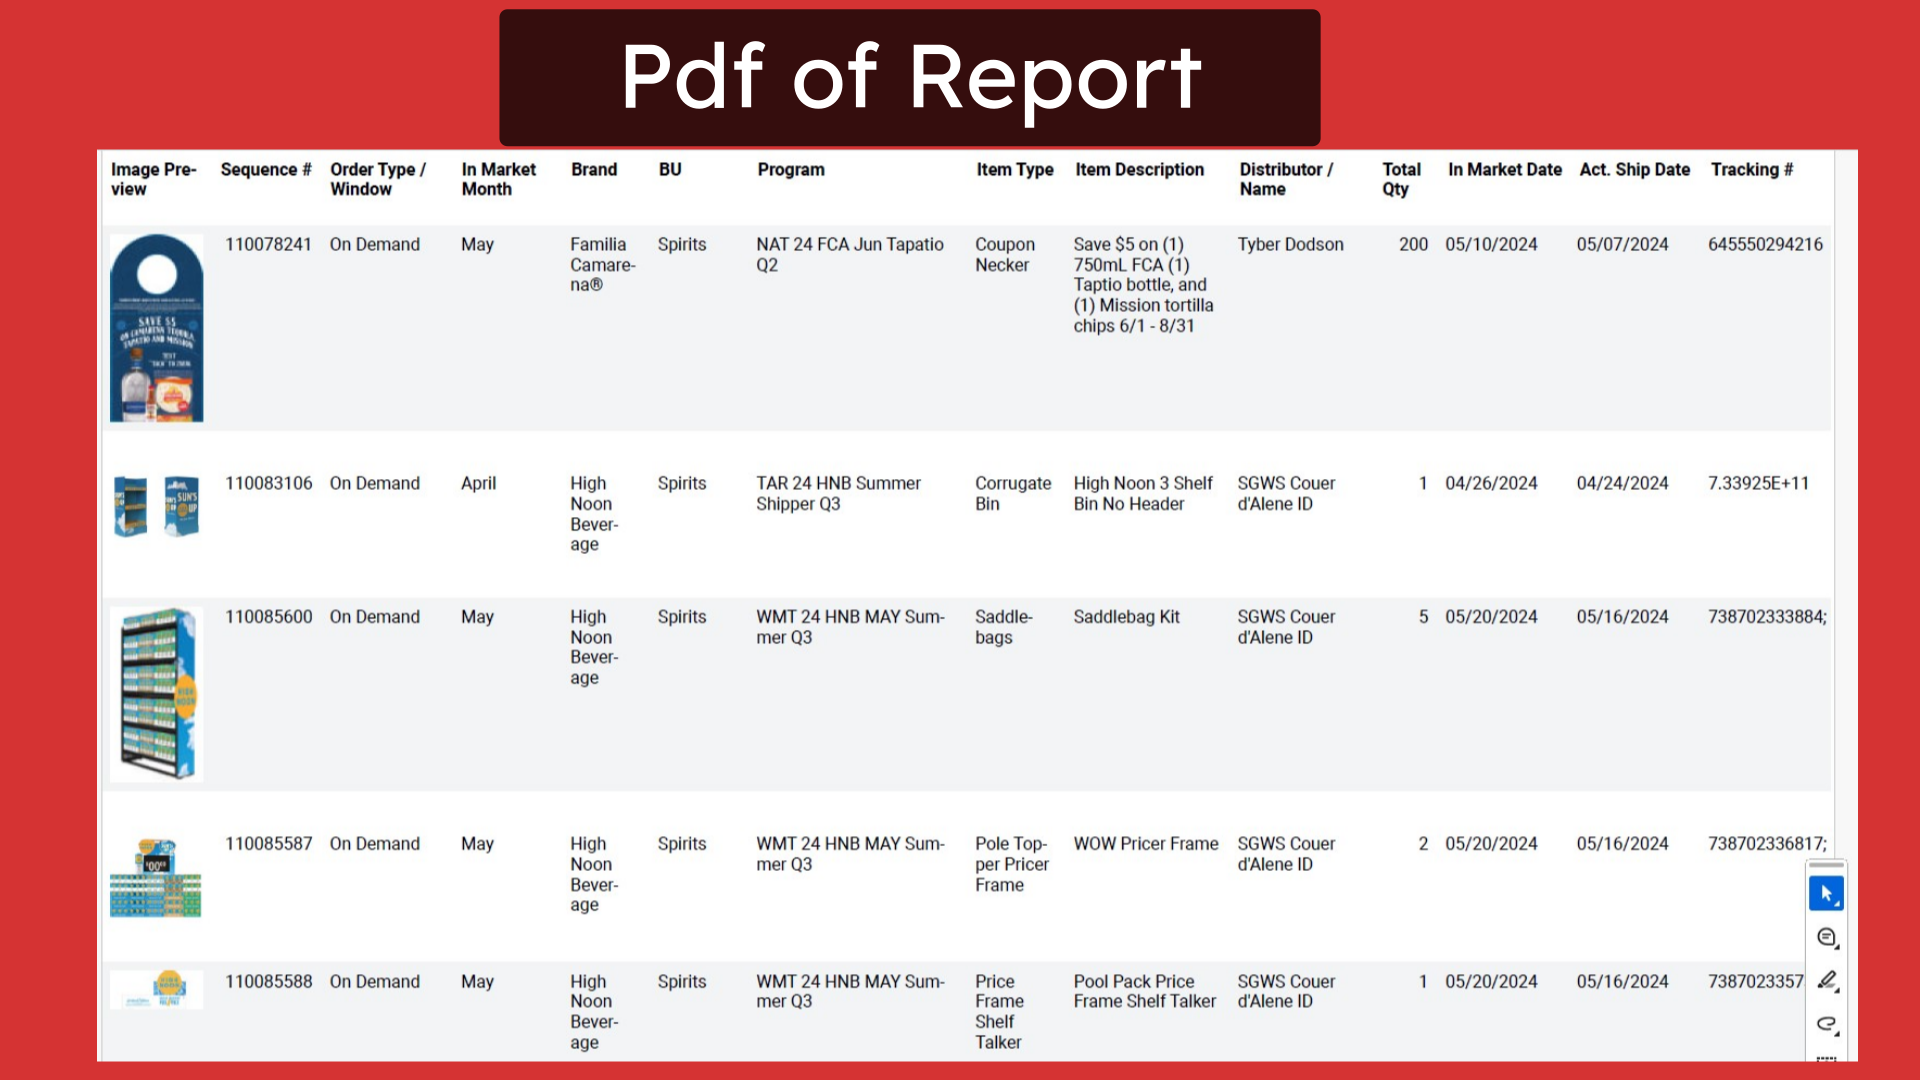
18. Pdf of Report
The pdf will generate only the information that will be relevant to distributors with the images included. For additional information without the images, you can create an excel version of this report which will be demonstrated next.
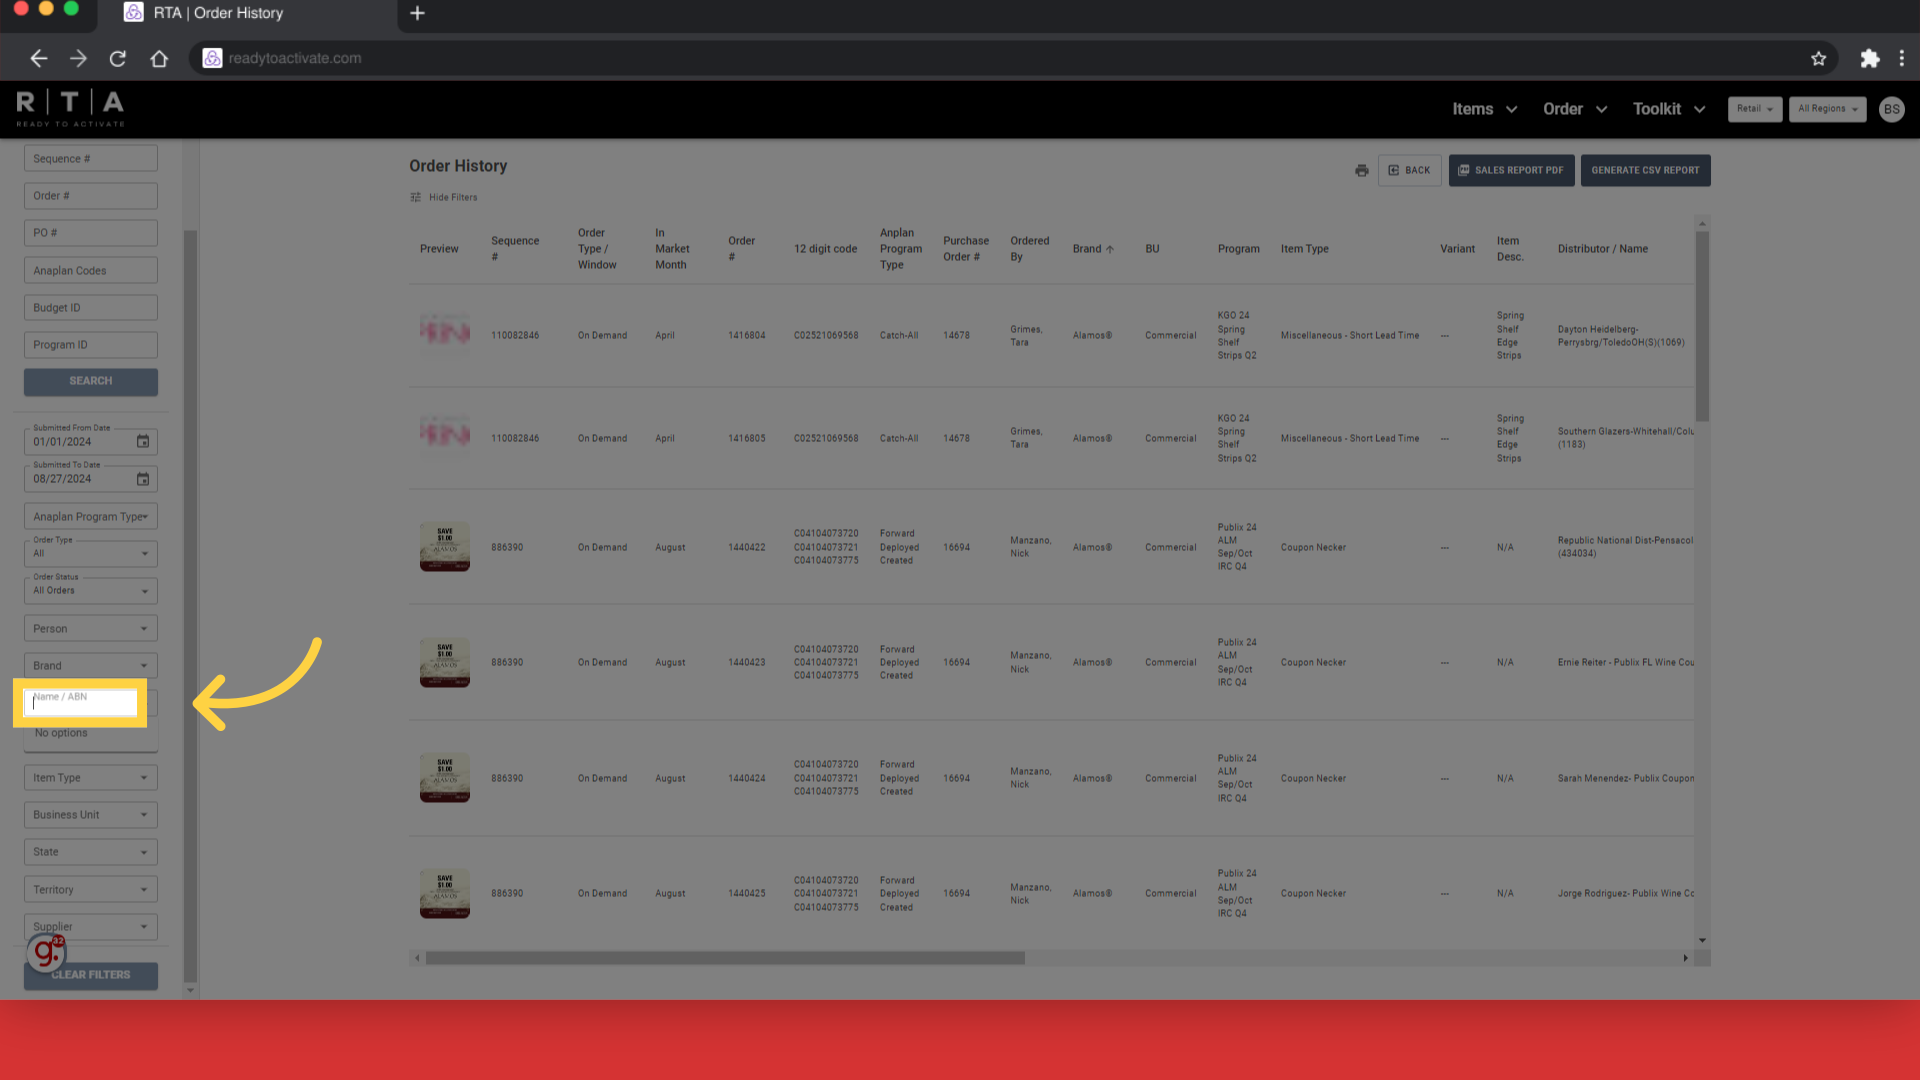
19. Click "Name / ABN"
Let's further refine our next report to show only Point of Sale ordered for a specific distributor. Select the "Name or ABN" option and type in the distributor or ABN number.
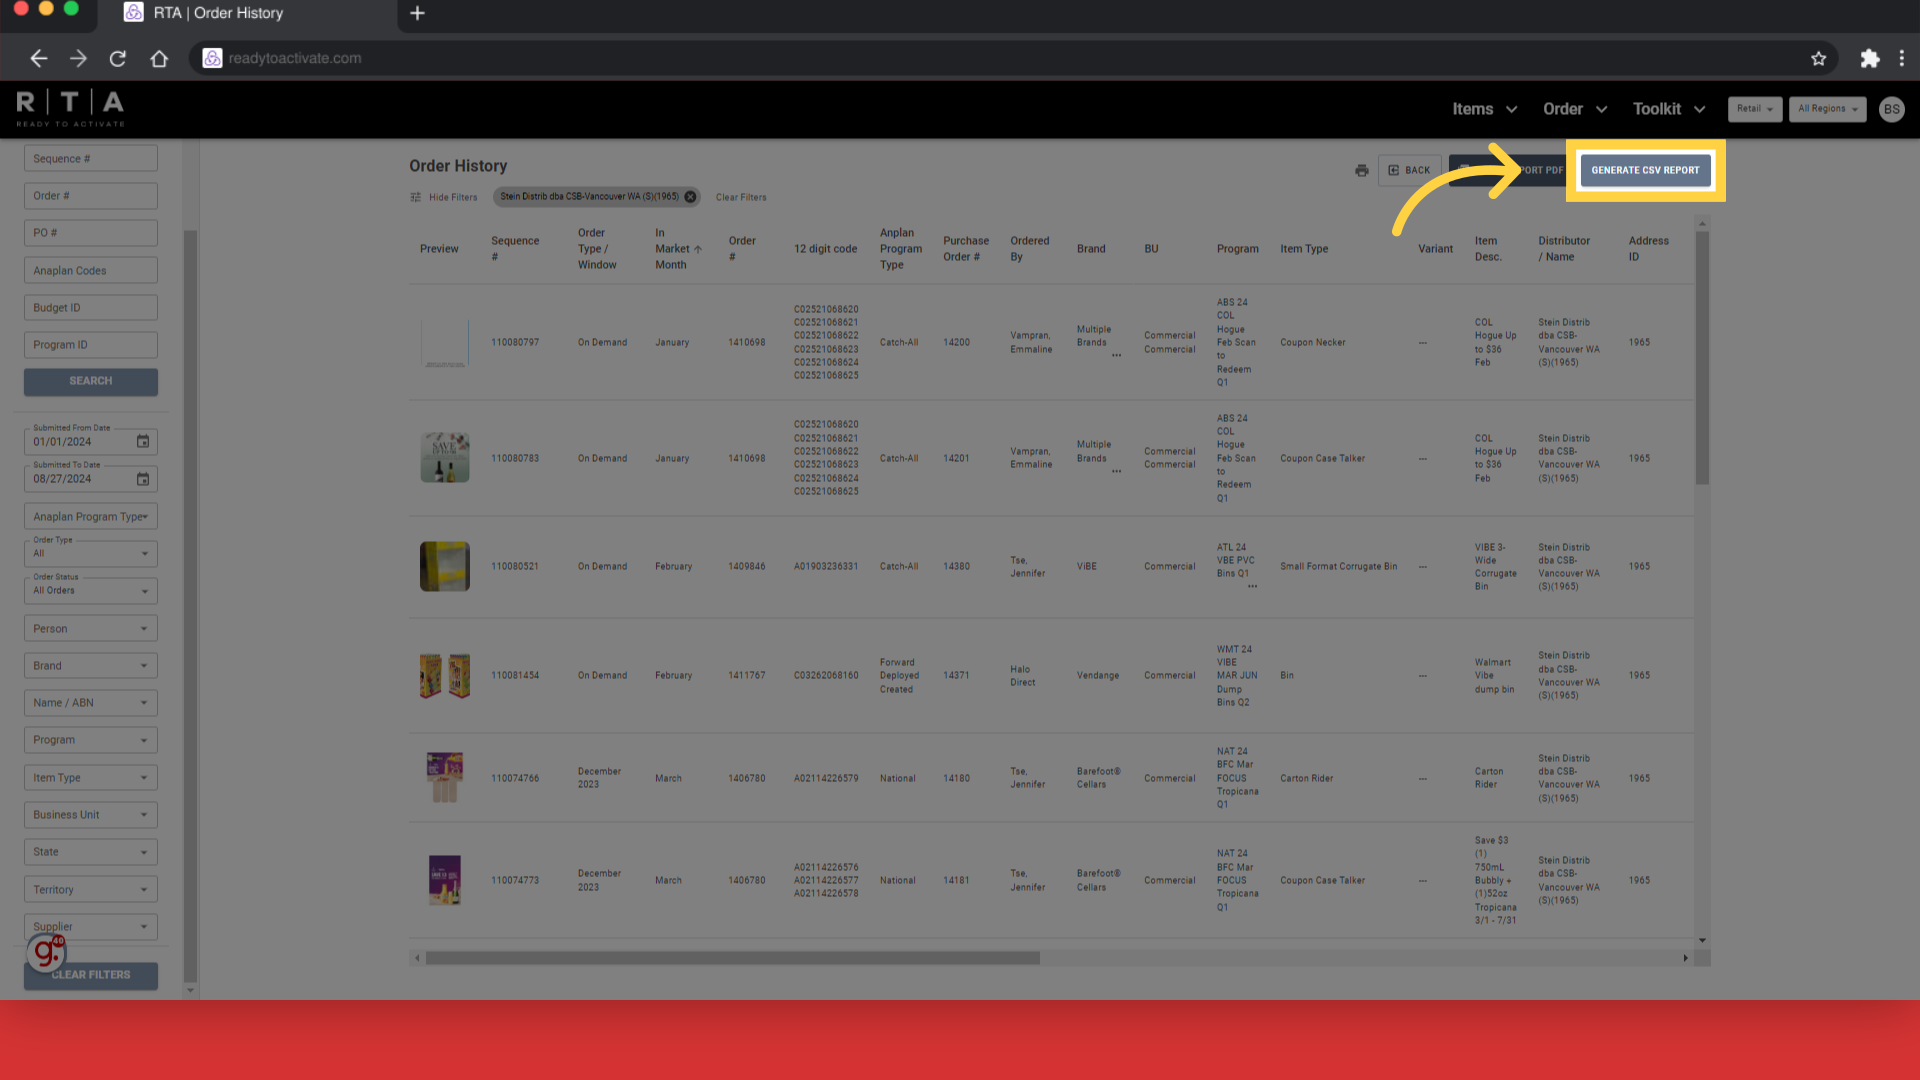
20. Click "Generate CSV Report"
For an excel version of this report that will not have images, click "Generate CSV Report".
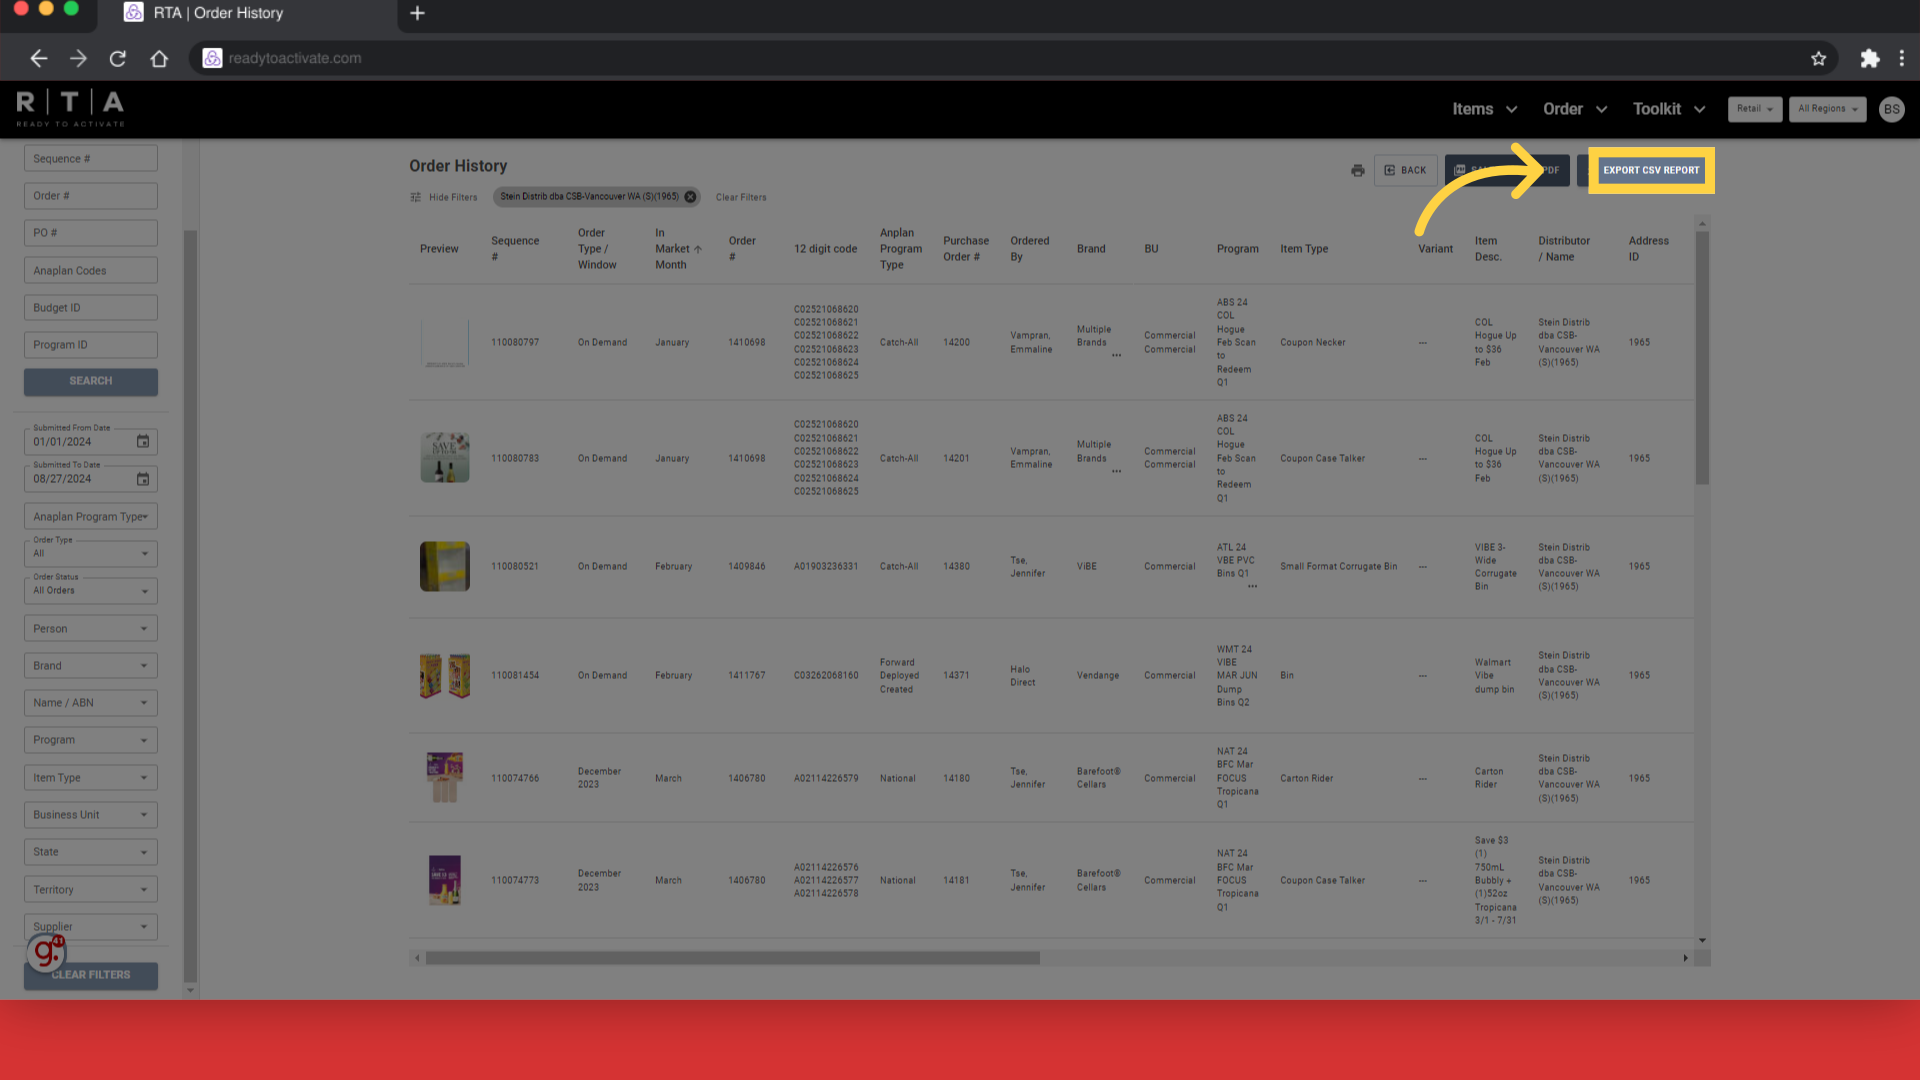
21. Click "Export CSV Report"
Next click on "Export CSV Report"
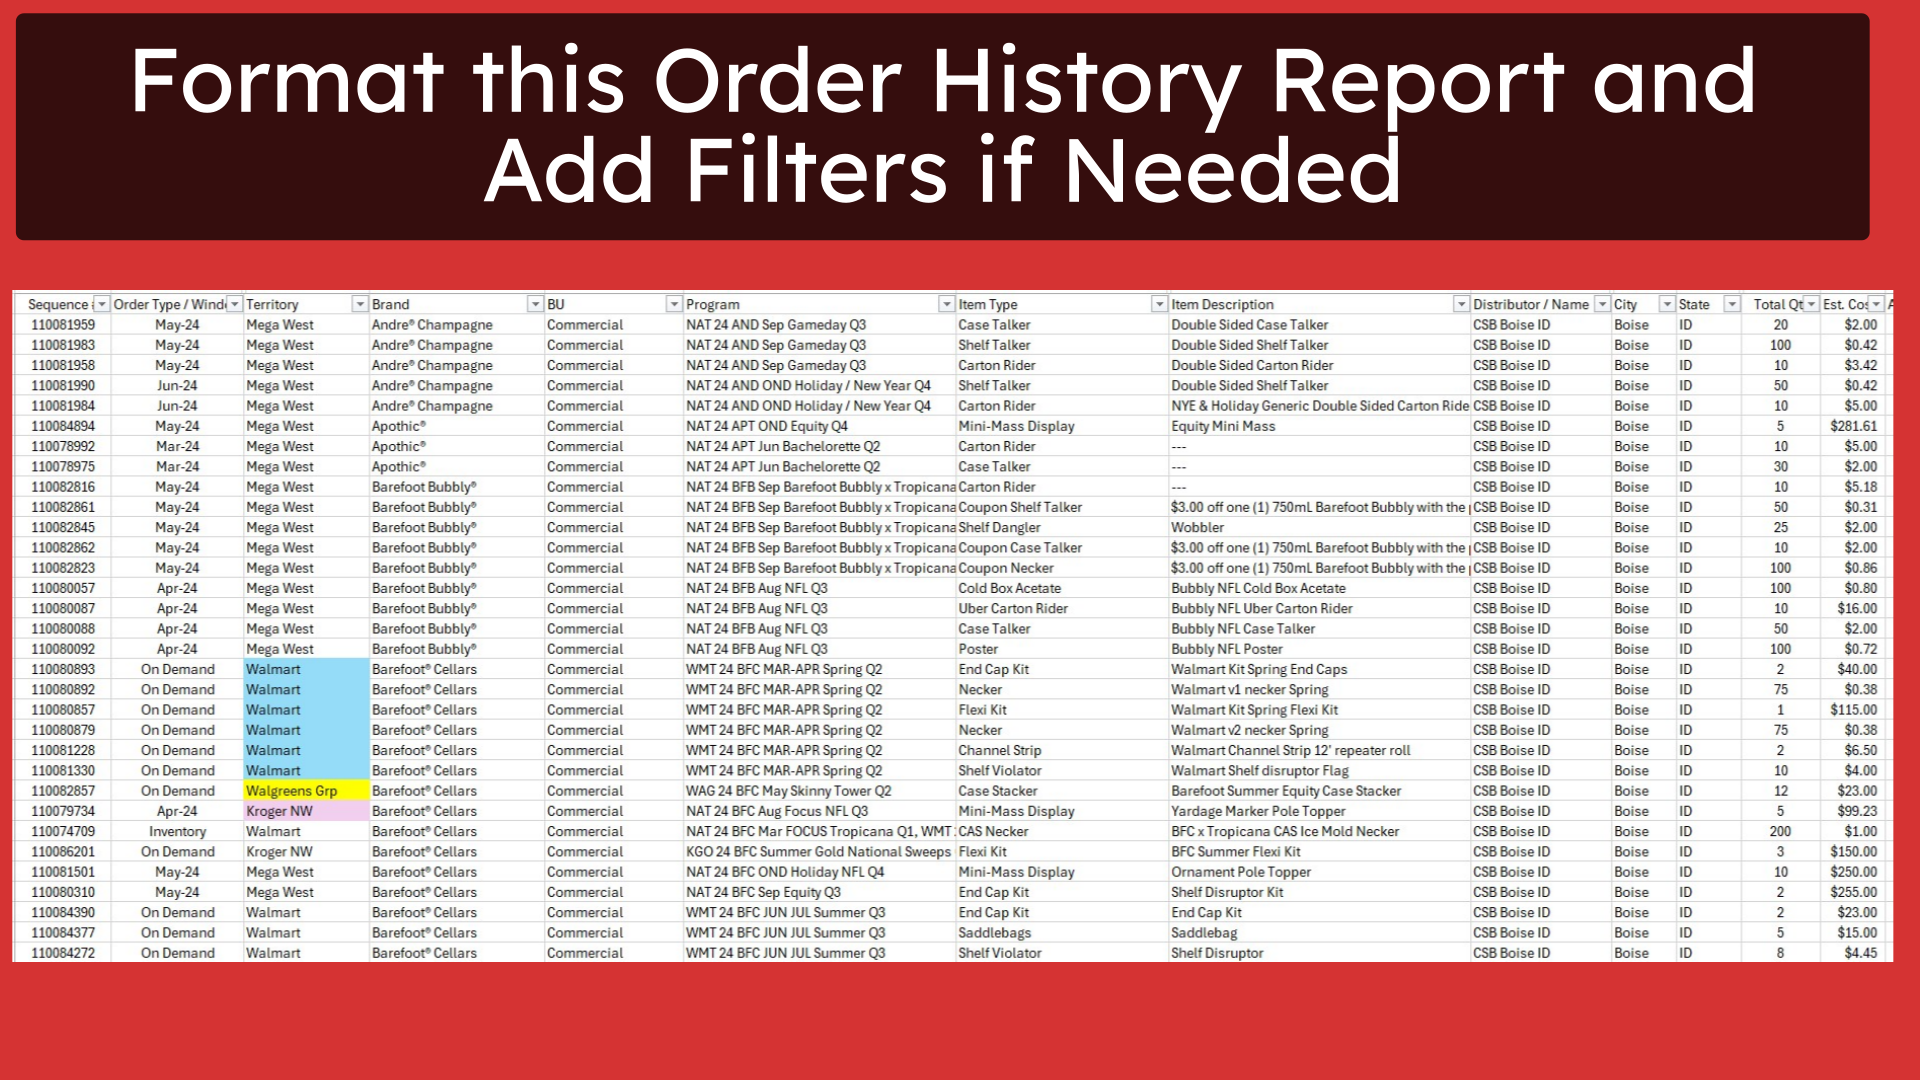
22. Format this Order History Report and Add Filters if Needed
The report generated can be formatted and filters added to easily find information needed. These reports can also include Point of Sale ordered on RTA by Key Accounts as shown in the highlighted cells on this report snippet.
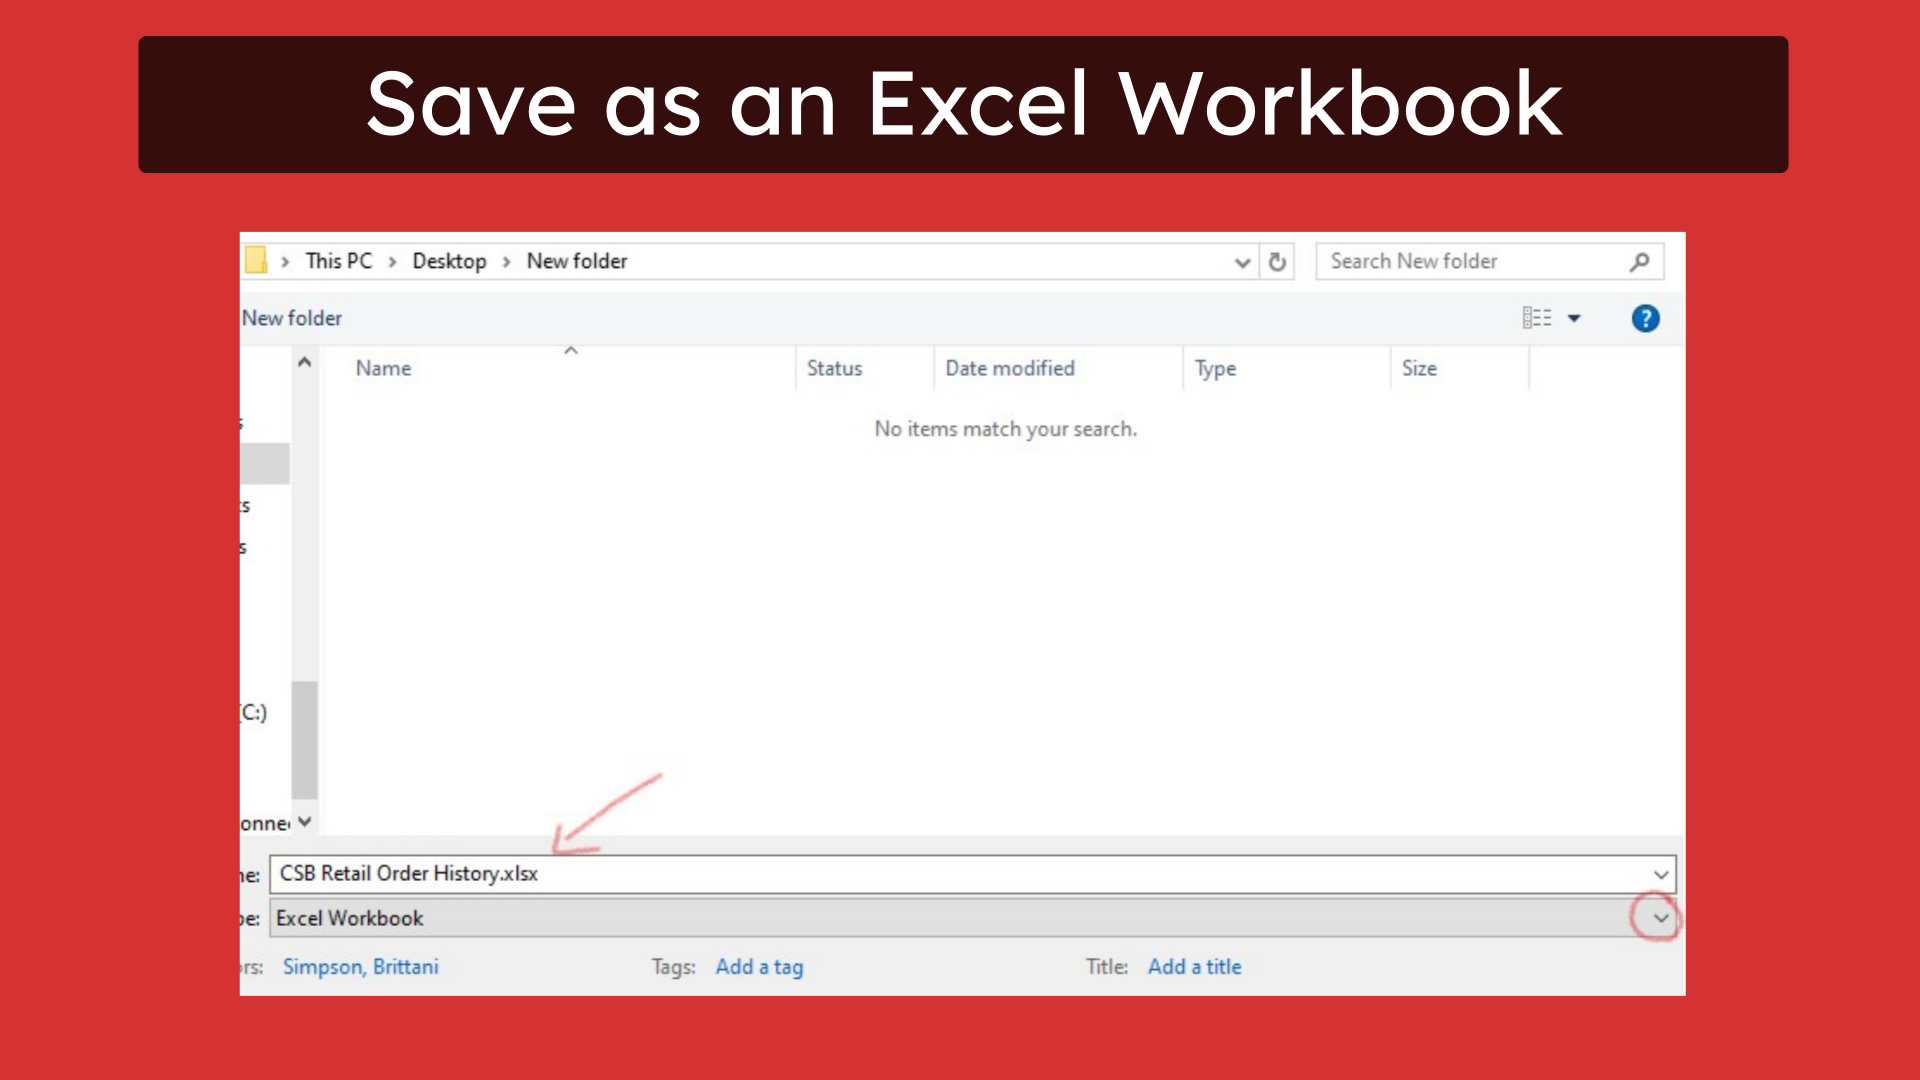
23. Save as an Excel Workbook
Be sure to save this report as an Excel Workbook to keep any formatting or filters in this report.
This training demonstrated how to create Order History Reports on RTA using filters and the sorting feature within the report. We also showed how you can download and save these reports as PDF's with images or as an excel document. All Point of Sale ordered on RTA by Sales and Key Accounts can be shown in these reports, and quantities, In Market Dates, and Tracking would also be found by running these reports. If any information is missing or you have questions or issues with running these reports, please email help at ready to activate dot com.